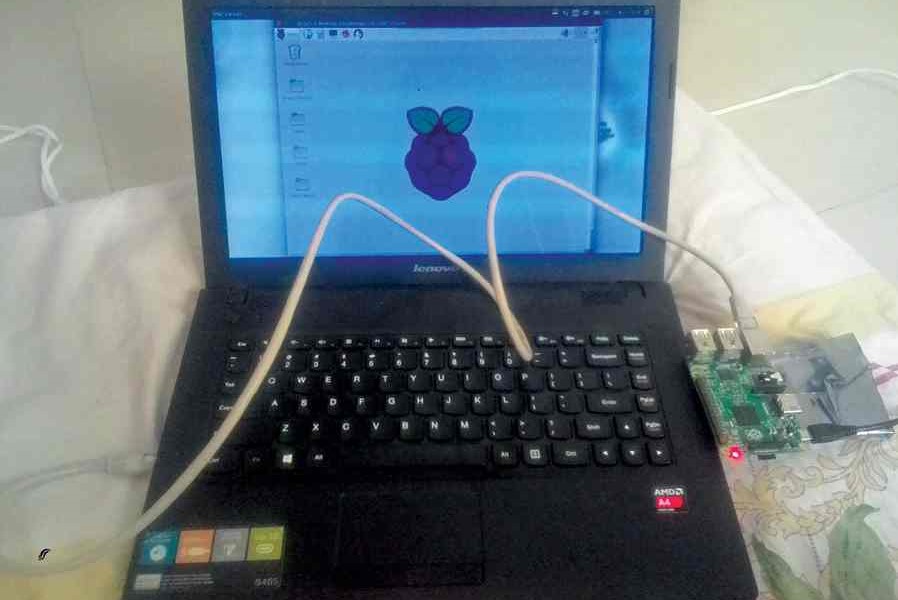
ACCESSING GRAPHICAL DESKTOP USING SSH AND VNC
Raspberry Pi is a low-cost, high-performance, credit-card-sized computer for learning, solving problems and having fun. Easy to get started with, this tiny yet powerful computer comes with additional resources including monitor screen, keyboard and mouse. Imagine the inconvenience of moving around the accessories between workplaces for accessing this tiny computer. Does it still feel tiny? The configuration given in this article lets you set up a local network between Raspberry Pi board and a laptop using an Ethernet cable. It is a simple and convenient configuration to access Raspberry Pi remotely.
AI ASSISTANT,MEDIA CENTRE USING PI
The Google Home is useful to have around the home.It is a beautiful device with built-in Google Assistant — A state of the art digital personal assistant by Google. It can play media, save your reminders and notes, tell you the length of your commute, do home automation.It can be placed anywhere at your home and it will do some amazing things for you, but, it’s an expensive proposition if you’re not sure you’ll use it. Good news though, you can make a fully-functional one using a Raspberry Pi.
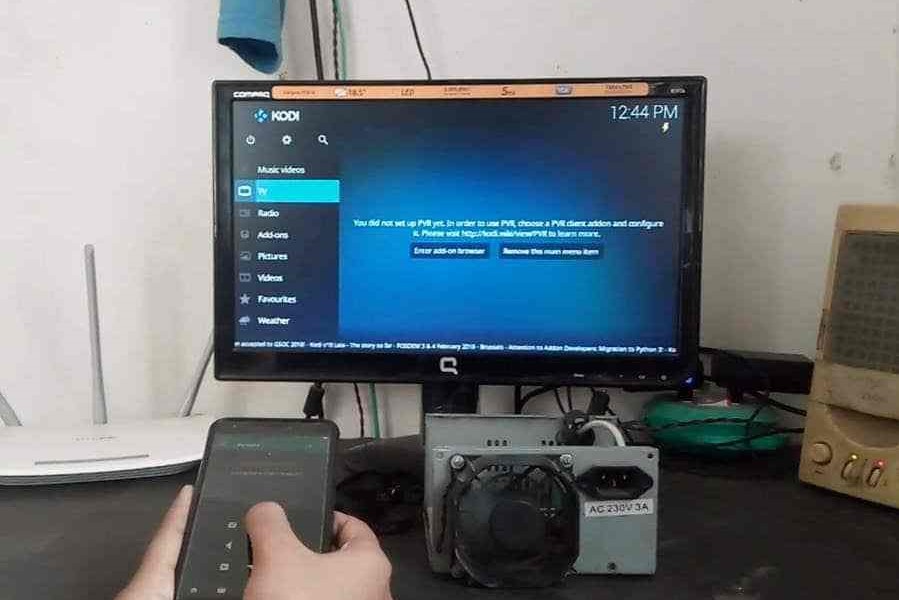
BUILD A SMART TV
Raspberry Pi Media Center Kits are available since an year ago, but we understand that there are still people out confused on how reliable a Pi can be as your Media Center. Well we clear up all the lather here below. with a walk through which lets you turn your Raspberry Pi into a full-fledged media center, that is dead-silent, costs pennies to operate, and still offers enough power to play HD content with plug-and-play ease. The demonstration uses Raspberry Pi 3 in the plot as it fits well with addons like built in BLE and WiFi.
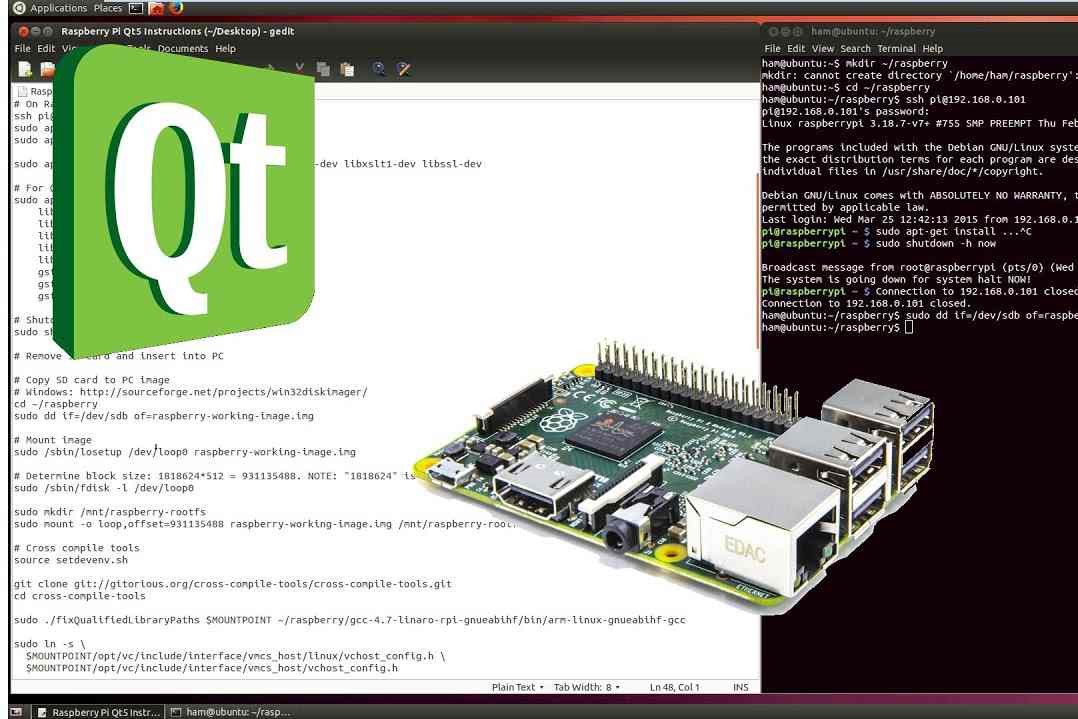
SETTING UP QT ON PI
Qt is a platform-independent application that can run on all desktop and mobile operating systems (OSes), in addition to most embedded OSes—including Linux Embedded, Windows Embedded, QNX, vxWorks and Integrity—with one technology and one codebase. When developed, the application can run across multiple platforms at near-native performance. Thus, Qt saves a lot of development time and, hence, minimises time-to-market.Qt is well-documented and has extensive API functionality, high-end graphics and integrated development tools. It has all that is needed to make the creation of embedded applications easy.
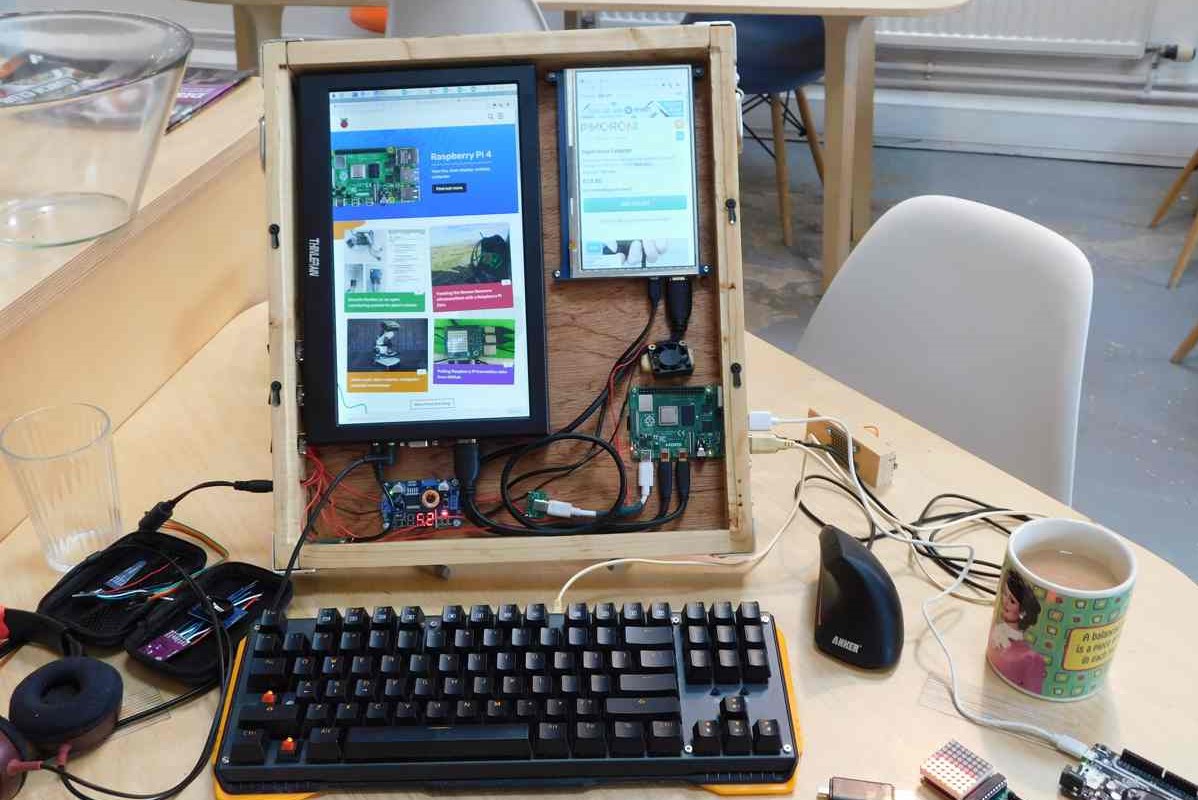
DESKTOP COMPUTER
Tellingly, the Raspberry Pi Foundation released a new all-in-one kit and named it the Desktop Kit. For the first time truly in Raspberry Pi history, the new model was considered powerful enough to be used as a daily computer without any significant compromise. Aside from the hard drive crash, the Raspberry Pi was a perfectly serviceable desktop for web browsing, writing articles, and even some light image editing. Make no mistake, you wouldn't enjoy using Blender on the Pi, but then again, that's true of budget desktops and laptops, too. ... Browsers are memory hogs.
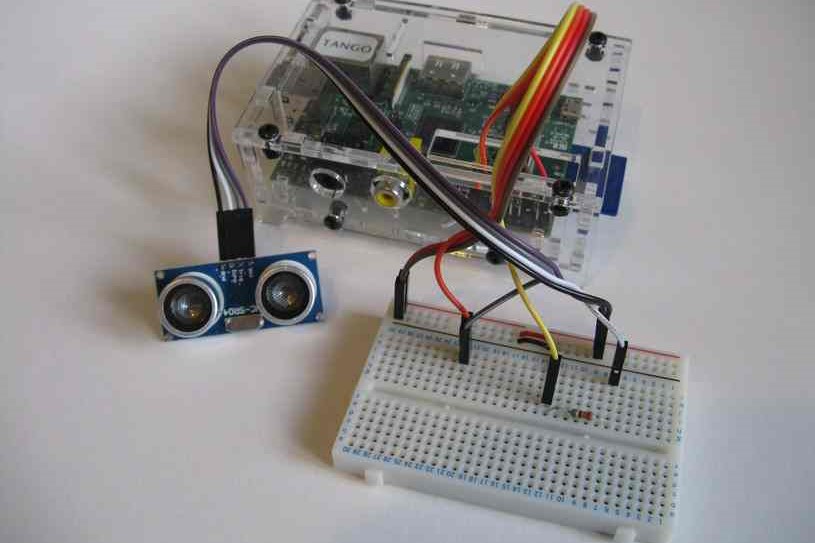
DISTANCE SENSING USING PI
You can measure distance using the HC-SR04 ultrasonic sensor with Raspberry Pi. The HC-SR04 sensor can measure distance from 2mm (. 02m) to 400cm (4m). It sends 8 burst of 40KHz signals and then waits for it to hit an object and get reflected back.
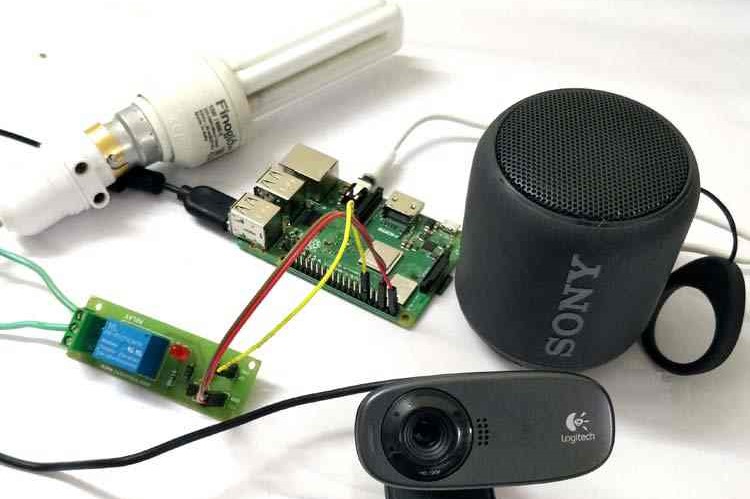
HOME AUTOMATION SYSTEM
This project is intended to construct a home automation system that uses any mobile device to control the home appliances. This home automation system is based on IoT. Home automation is very exciting field when it uses new technologies like Internet of Things (IoT). Raspberry pi is credit card size computer.
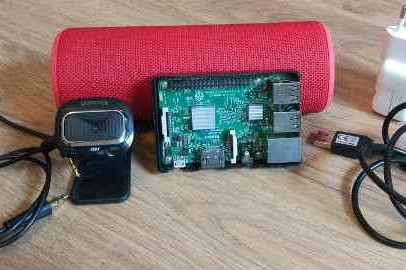
INSTALLING GOOGLE ASSITANT ON PI
Set Up Hardware and Network Access. Configure and Test the Audio. Configure a Developer Project and Account Settings. Register the Device Model. Install the SDK and Sample Code. Run the Sample Code
PI TWITTER BOT
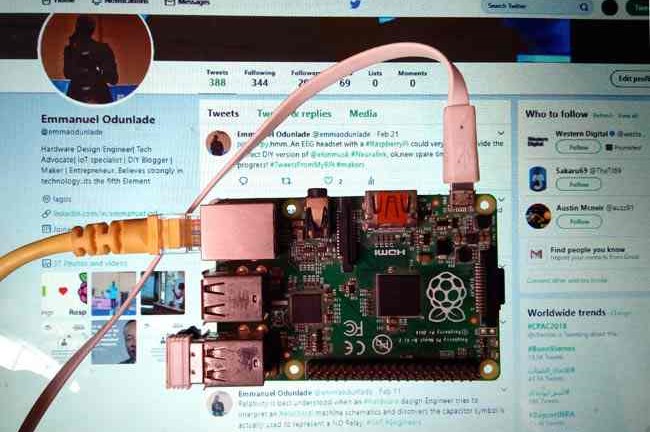
You can use your Raspberry Pi Twitter bot to automate a huge range of different tasks, these range from posting a picture to your Twitter account every hour to monitor the growth of a plant or even tweeting out values from sensors connected to your Raspberry Pi.
CAPTURING IMAGES WITH USB CAMERAS AND PI
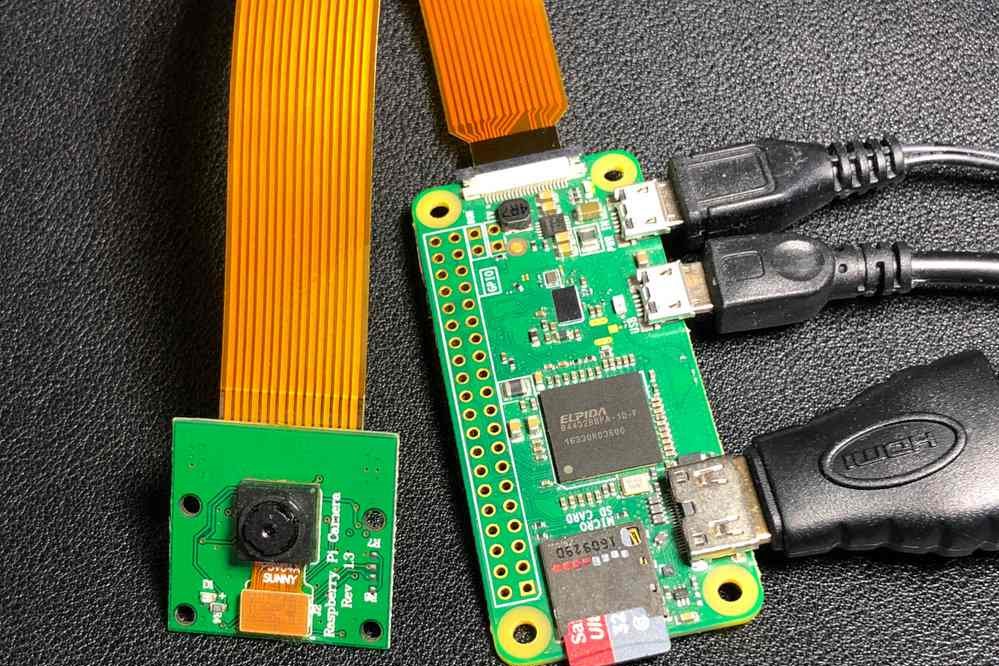
Connect the TV screen or monitor to Raspberry Pi board using a composite video cable (AV cable) or HDMI cable, insert the SD card into the SD card slot and switch-on the power supply. The TV screen/monitor even on the right AV channel may refuse to come up the first time. When that happens, remove the power-supply cord of Raspberry Pi board once (keeping the monitor’s power supply on) and then re-plug it. Now, the monitor should come on live, if the SD card is not removed.Once the Raspberry Pi starts booting up, it will prompt you for login name and password. The login for Wheezy linux is pi and the password is raspberry. Once entered, Raspberry Pi will open the text screen. Enter Startx command at the prompt to start the beautiful GUI desktop screen. The first time when I saw the image on my television screen, I was mesmerised. To make Raspberry Pi open the GUI screen every time it boots up, all you have to do is to make a change in the raspi-config page. Select Sudo Raspi-config and bring the cursor down on Automatic GUI Boot Up. Select → Finish → Reboot. And, it’s done.
WEATHER STATION USING PI
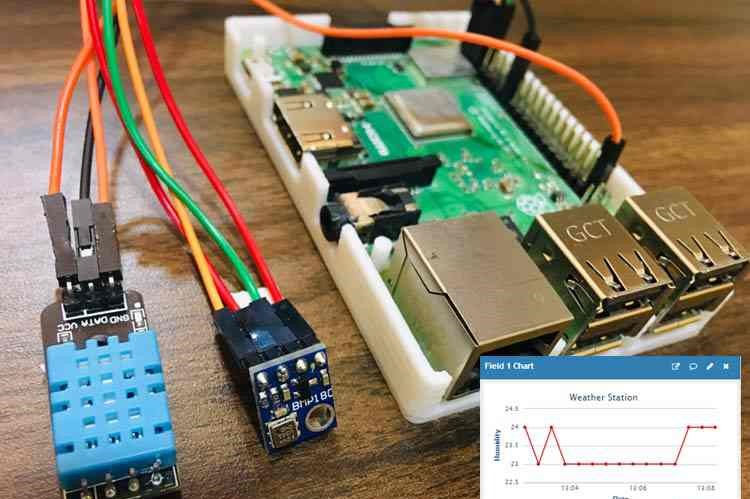
The original Weather Station kit is a HAT for the Raspberry Pi that allows it to collect weather data using a variety of sensors. It is designed to be used in schools to enable students to create their own weather station, and has a range of resources to support its use. These kits have been very popular.Humidity, Temperature and Pressure are three basic parameters to build any Weather Station and to measure environmental conditions. We have previously built a mini Weather Station using Arduino and this time we are extending the weather station with Raspberry Pi. This IoT based Project aims to show the current Humidity, Temperature and Pressure parameters on the LCD as well on the Internet server using Raspberry Pi, which makes it a Raspberry Pi Weather Station. You can install this setup anywhere and can monitor the weather conditions of that place from anywhere in the world over the internet, it will not only show the current data but can also show the past values in the form of Graphs.
TIME LAPSE PHOTOGRAPHY
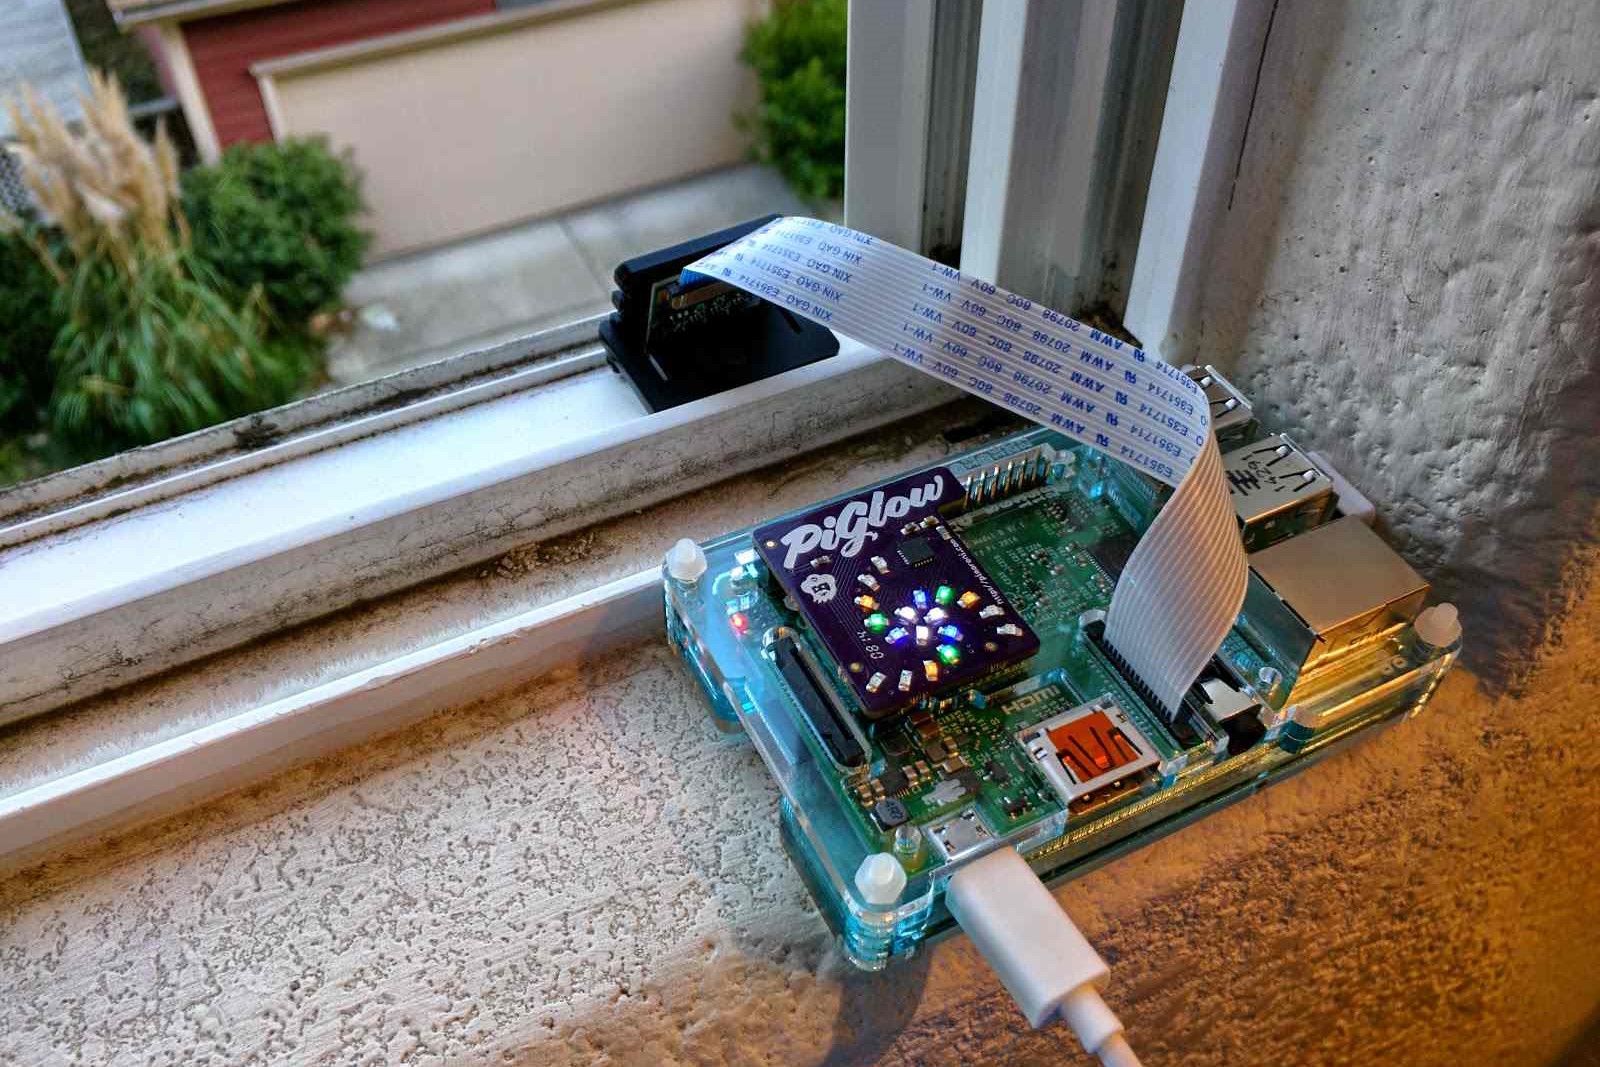
To create a time-lapse video, you simply configure the Raspberry Pi to take a picture at a regular interval, such as every minute, then use an application to stitch the pictures together into a video.This project aims at developing a simple time-lapse photography device with Raspberry Pi 3 and Pi camera. To get the most out of nature without tiring yourself, time-lapse photography is the best technique. For time-lapse photography the film frames are captured at much lower rate than the normal speed used to view the frames in sequence. Here, a photographer takes several pictures while the camera is locked in a still position for a preset duration that can vary from half an hour to several days. When it is played at normal speed, time appears to be moving faster. One example where time-lapse photography can be used is the scene of the Sun rising or setting.
VIRTUAL TELEPRESENCE ROBOT USING PI
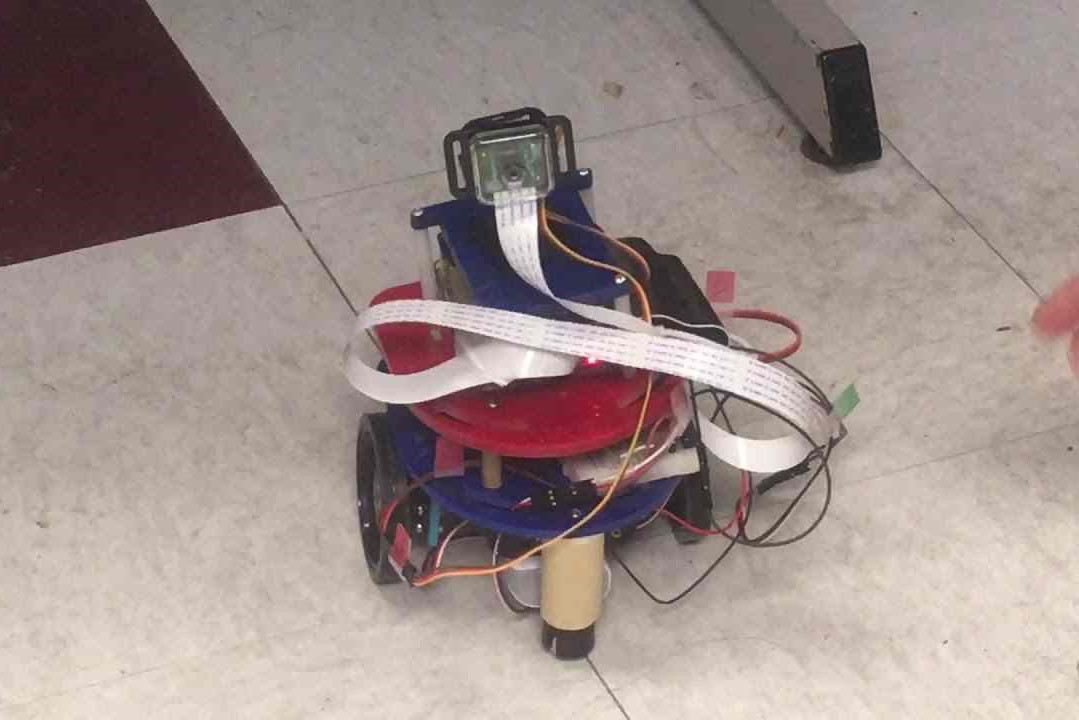
This robot with a camera is placed in a remote location to capture the environment in visual form using Raspberry Pi (RPi). The captured visuals are displayed on the user’s virtual reality (VR) headset. An added feature allows the camera to move in the direction of the user’s head movements. This gives the user a real-time experience as if he is present where the virtual telepresence robot is located. The virtual telepresence robot can also be moved in any direction through an app installed in the user’s smartphone.
STREAMING CAMERA
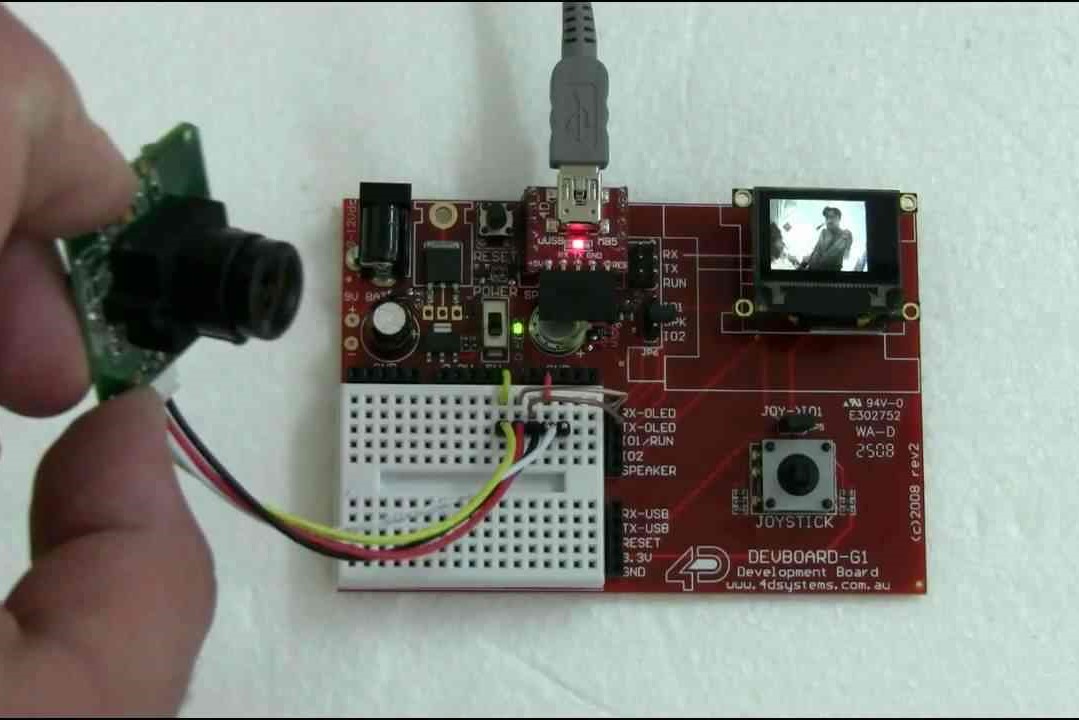
First, you have to set up the Raspberry Pi for camera interface. Open the terminal and run this command “sudo raspi-config”. Then you will get a blue colour window with several options. ... Now, your Raspberry Pi is ready for camera interface, meaning you can start streaming camera video over Wi-Fi.If you're using the Raspberry Pi Camera Module, you need to enable the camera software in your Raspberry Pi in order to use it. In the Desktop environment, go to the Raspberry Pi Configuration window under the Preferences menu, open the Interfaces tab and enable the Camera.
WEB SERVER USING PI2
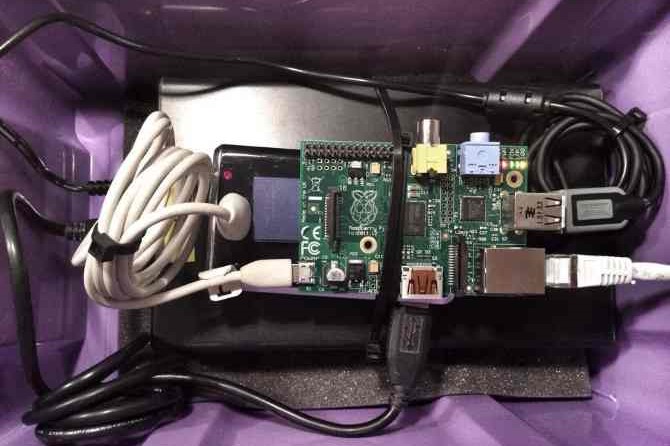
Raspberry Pi is a small credit-card sized computer capable of performing various functionalities. It is heavily used in surveillance systems, military applications, etc. Several generations of Raspberry Pi’s have been released till date.Here we are using Raspberry Pi 2 B model to design a web server. It is an ARM CORTEX A-7, small sized open source CPU with 1GB RAM and supports 900 MHz processing speed. We also have four USB 2.0 ports, one ethernet port, DSI display connector, CSI port for camera, HDMI port, 4 pole 3.5 mm jack and 40 pin GPIO header.The main aim behind this concept is to control a vehicle through web-page.
WIFI EXTENDER USING PI
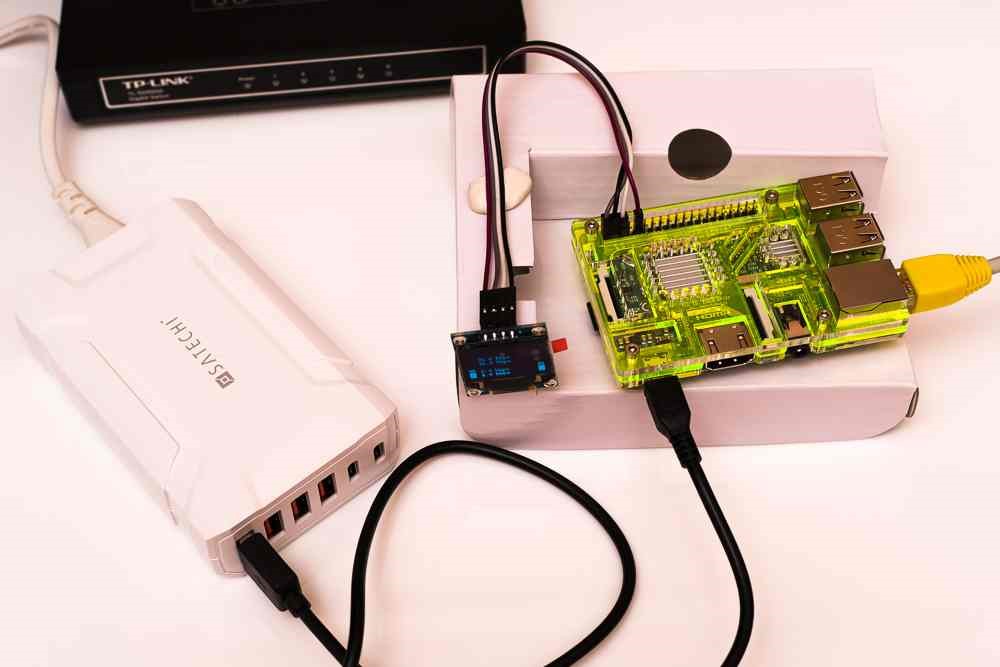
A Raspberry Pi WiFi Extender is a cheap and power efficient way of increasing the total range of your WiFi Network. ... The main difference being that instead of getting its network connection from Ethernet, it instead gets its network connection from a WiFi adapter.
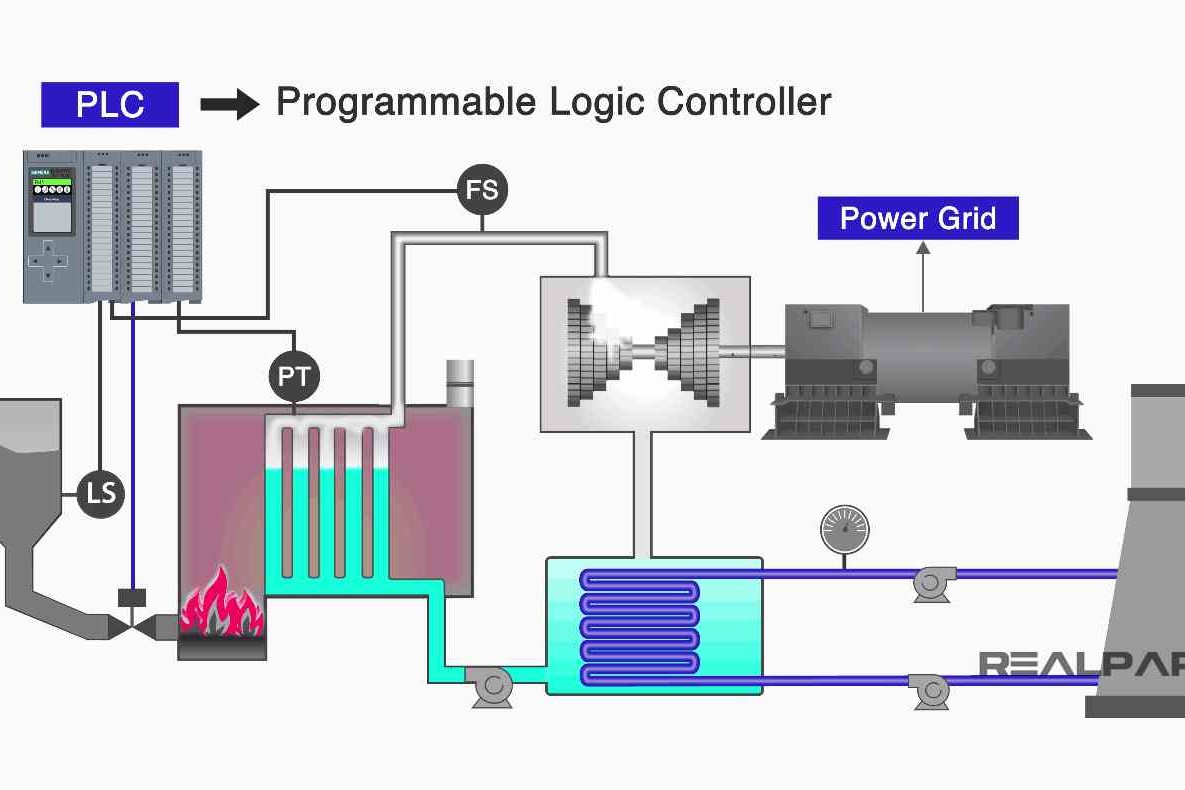
COAL LEVEL SENSING IN POWER PLANT
The PLC based automation that can be carried out in the coal mining area and thermal power plant where coal handling is of prime importance. real-time feedback sensors are utilized to sense the coal height so data can be sent to downstream systems for further processing.
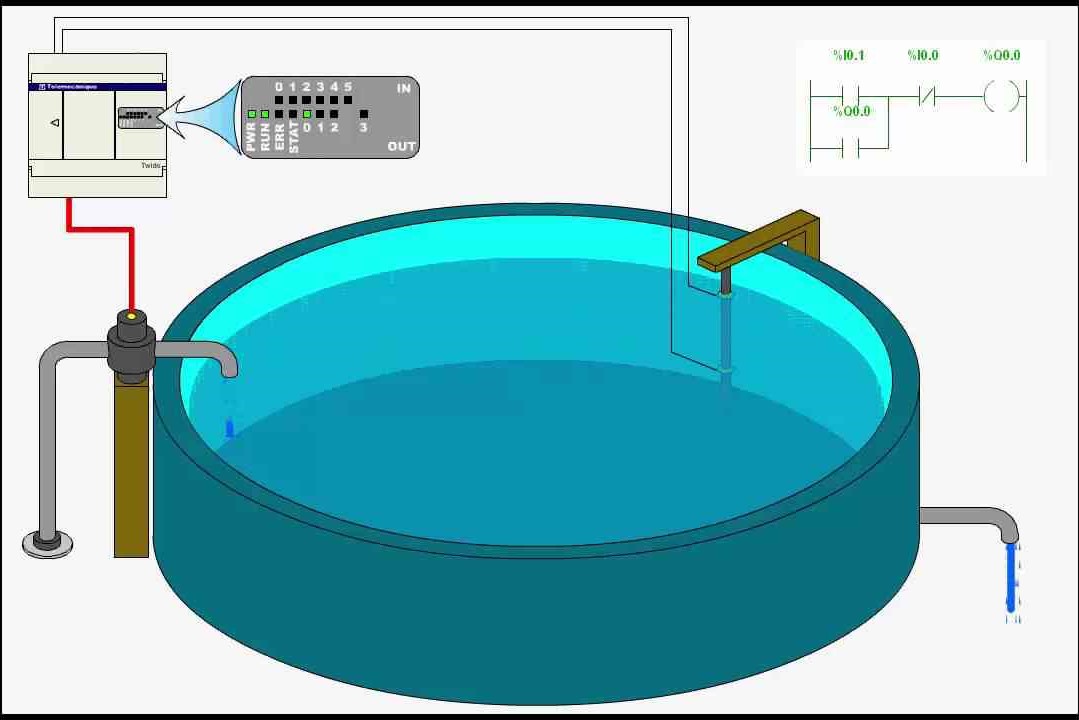
MINI WATER LEVEL FUZZY CONTROL SYSTEM
In the coal mine water level control systems, because the variables are non-linear, time lagged and uncertain, it is not possible to establish the mathematical model precisely. the intelligent control with the traditional automatic control device is used here. According to the principle of the fuzzy control and the characteristic of PLC, designing the mine water level fuzzy control system, and realizing it on PLC.
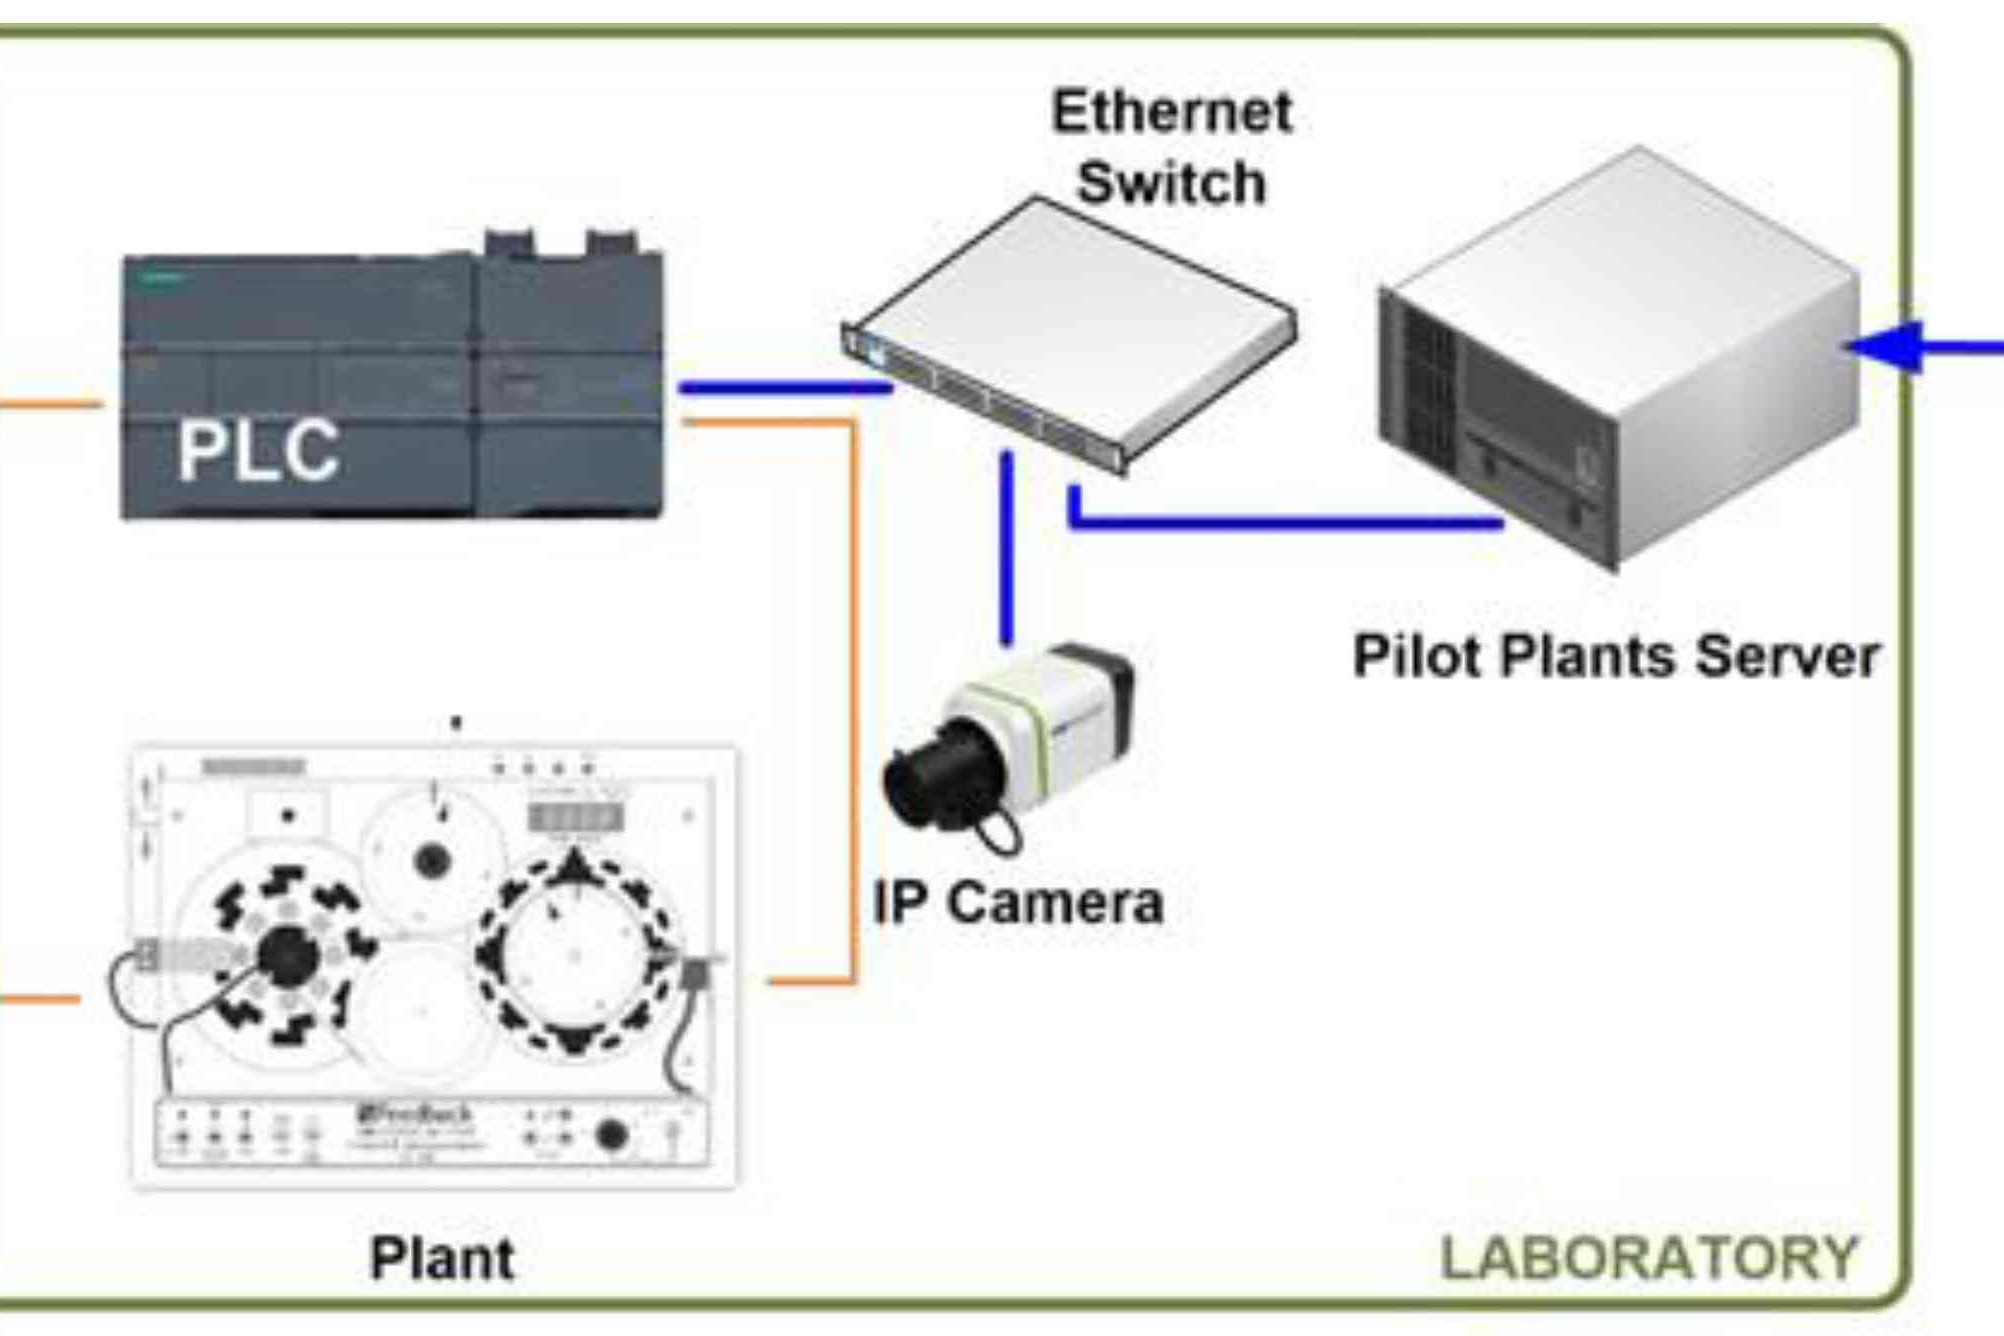
WEB BASED REMOTE ACCESS LAB
The Internet provides an opportunity for students to access laboratories from outside the campus. Programmable Logic Controller (PLC) was programmed to control the operation of the system and a SCADA system was installed to monitor and control the process.
FAULT DETECTION AND PROTECTION OF INDUCTION MOTOR
Fault Detection of Induction Motor by Using PLC, in Induction Motors a new protection method which is based on a programmable logic controller (PLC) has been introduced. In this method, all contactors, timers, relays, and the conversion card are eliminated.
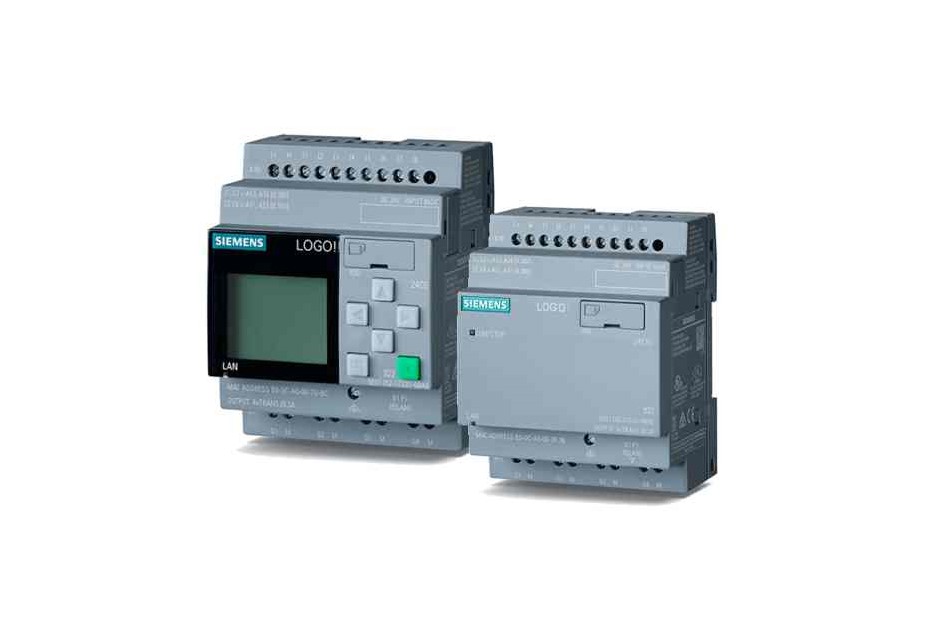
INDUSTRIAL TIMER CONTROLLER
Programmable logic controller (PLC) is a control system using electronic operations. It's easy storing procedures, handy extending principles, functions of sequential/position control, timed counting and input/output control are widely applied to the field of industrial automation control.
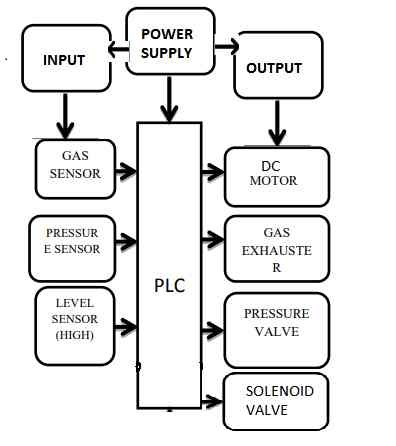
AUTOMATIC INDUSTRIAL DRAINAGE TIMER
To overcome the problem of drainage gas and to save human life we implement this automatic industrial drainage system. This proposed concept is to replace the manual work done in the drainage pipe cleaning by automated system. The gas sensor is a device that detects the presence of gases in the drainage pipe area.
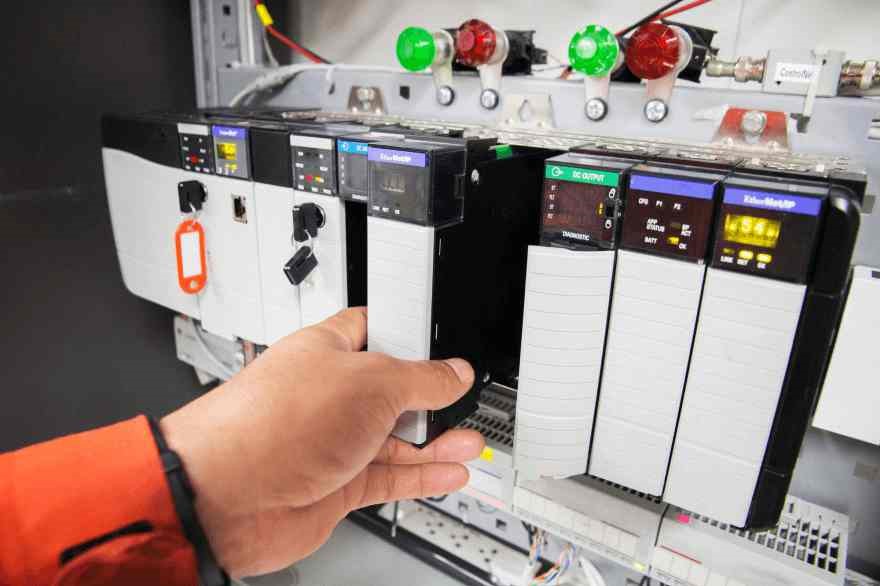
INDUSTRIAL MONITORING CONTROL
A programmable logic controller (PLC) or programmable controller is an industrial digital computer which has been ruggedized and adapted for the control of manufacturing processes, such as assembly lines, or robotic devices, or any activity.
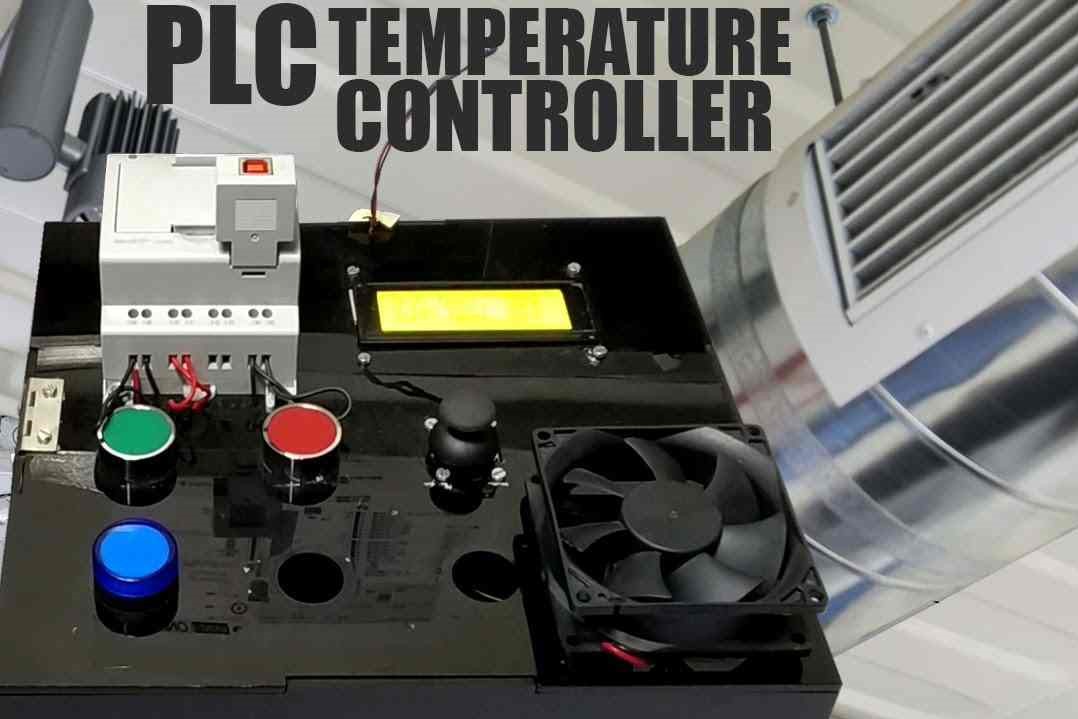
TEMPERATURE CONTROLLER
The control system for material processing and boiler heating, a new design method is proposed to work with is PLC-based temperature control system.
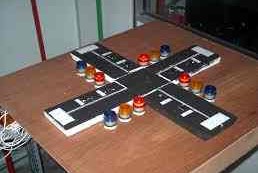
TRAFFIC DENSITY CONTROL USING SENSOR
Traffic signals are the most convenient method of controlling traffic in a busy junction. traffic control system using PLC, System measures the traffic density on each road by counting the number of vehicles and then takes the decision.
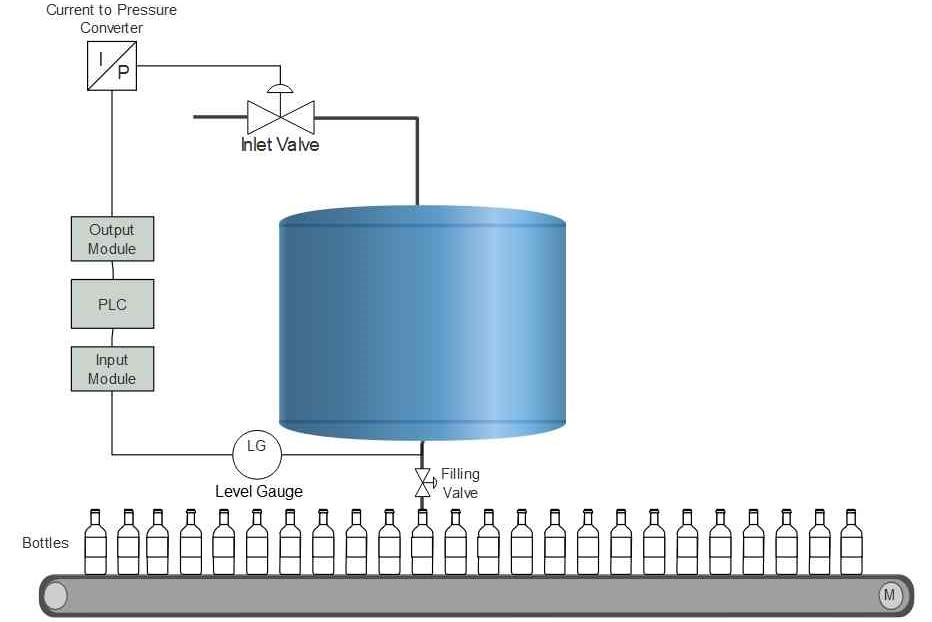
PRESSURE CONTROLLER
The pressure transmitter will convert the flow of Pressure into analog signal. According to the level, the load can be monitored by PLC. By measuring the reading and all the stages with the help of pressure transmitter, entire system communicating with automation system using PLC.
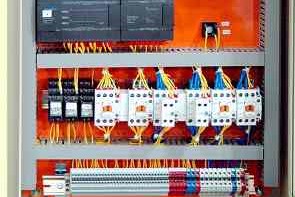
ELEVATOR CONTROLLER
An Elevator controller is a system to control the elevators, either manual or automatic. The low voltage power supply using a PLC is for the controlling component and the fixtures to control the elevator.

AUTOMATIC BOTTLE FILLING SYSTEM
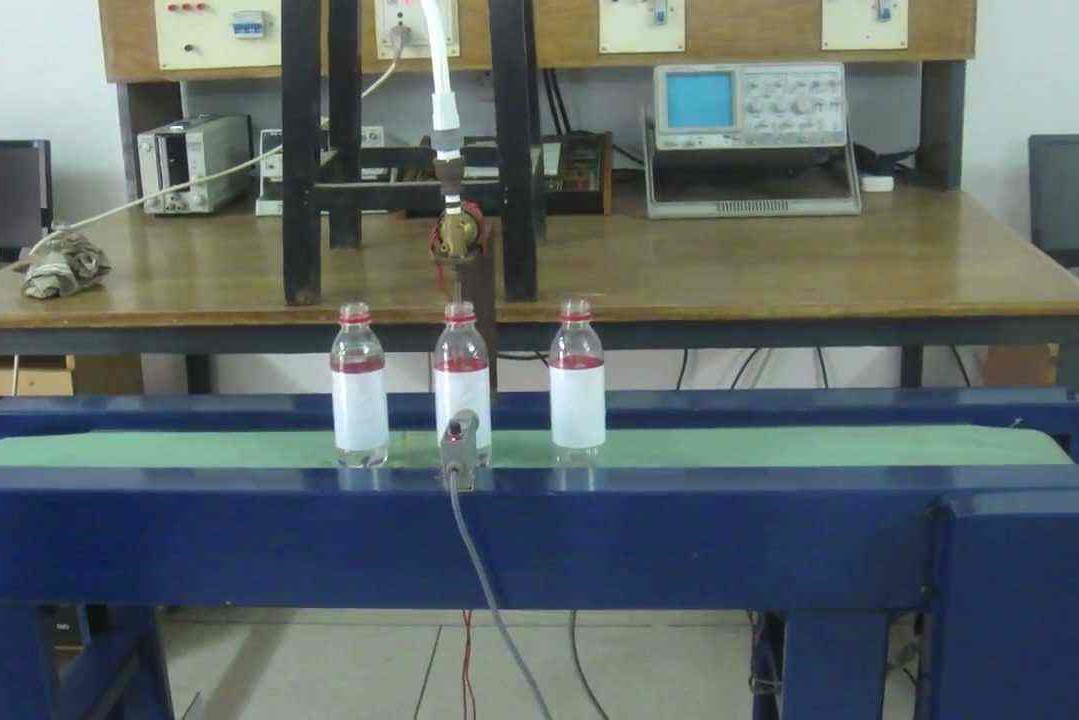
This method includes placing bottles onto a conveyor belt and filling bottles one at a time. In the bottle filling system the PLC gets the sensor feedback and controls the solenoid valve timing as well as controls the conveyer belt. By programming the PLC, the entire system is being controlled.
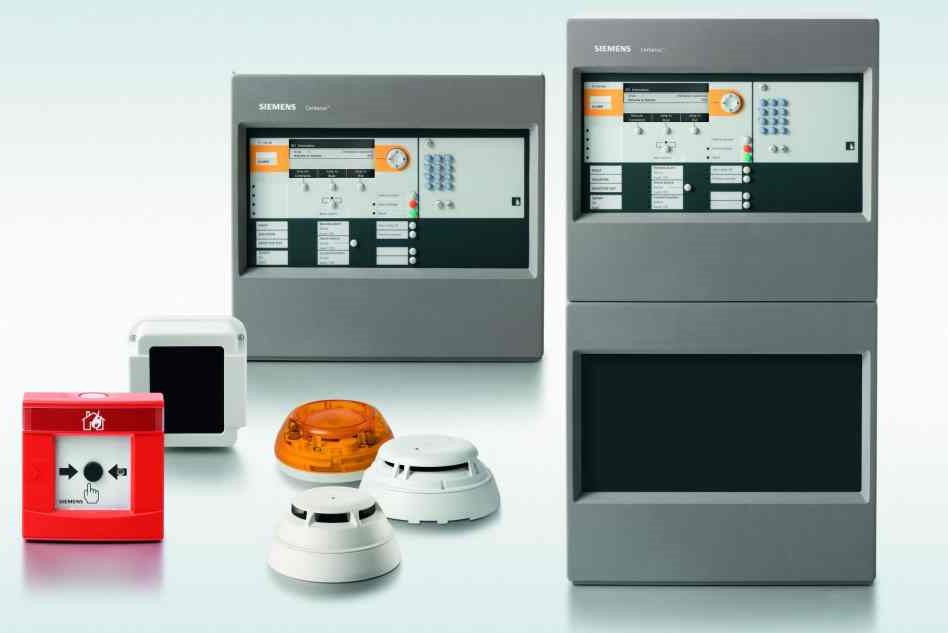
MULTI CHANNEL FIRE ALARM SYSTEM
This PLC-based fire alarm system detects smoke, heat etc. Relay drivers are used to switch on/off relay according to PLC output. When the sensors from each level are triggered individually, the main buzzer operates and disconnects the power supply.
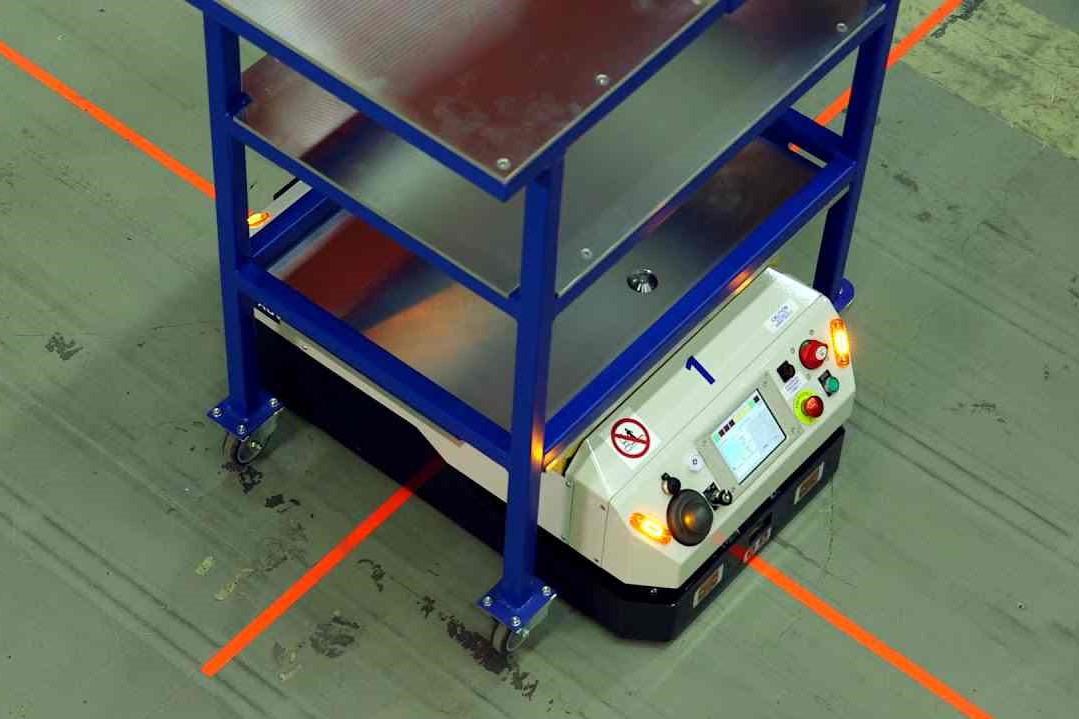
AUTOMATIC GUIDED VEHICLE
A programmable logic controller (PLC) is a specialized computer and designed to be used in industrial for control purpose. In general, an automated guided vehicle (AGV) is a kind of transportation that mostly used in material handling system.

AUTOMATIC CAR WASH
An Automatic Car-Wash Process, When a Car enters the hall, a certain sequence is to be followed automatically and steps are followed by Soaping, Washing, Rinsing and Drying.
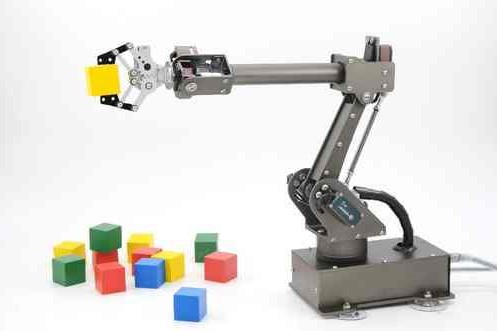
PICK AND PLACE ROBOT
Pick and Place Robotic ARM using PLC. It is an automated material handling system is synchronizing the movement of robotic arm to pick the object moving on a conveyor belt.
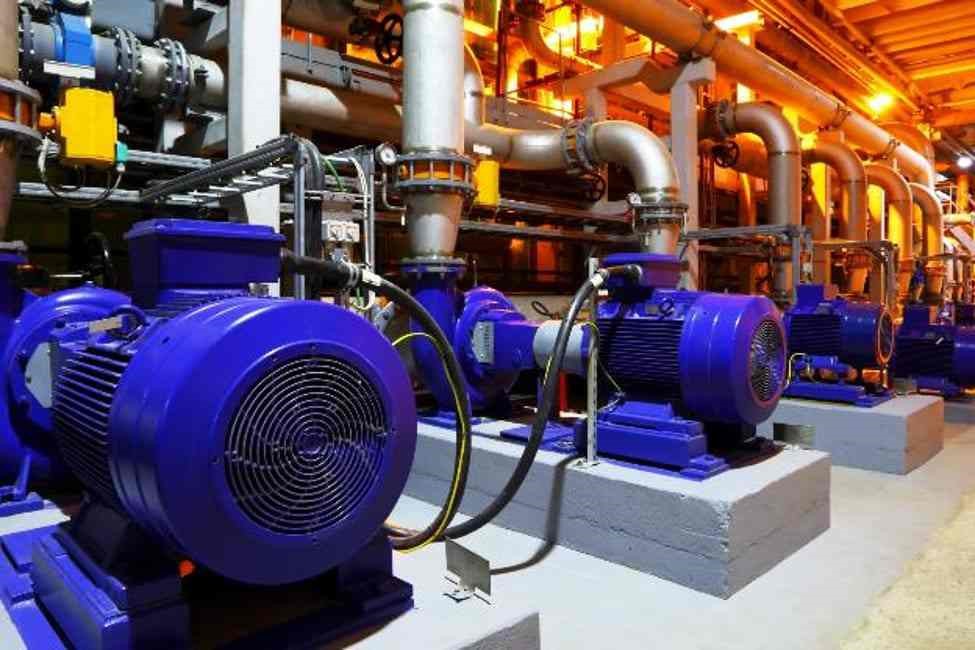
DC MOTOR SPEED MONITORING
To control a motor speed using PLC. At first, motor speed is transferred to PLC by shaft encoder, then PLC according to the program and PID controller generate the control signal to reach the desired speed.
AUTOMATIC PACKING CONTROL MACHINE
The project is to design and fabricate a small and simple conveyor belt system, and automate the process for packaging small cubic pieces. Inductive sensor and photoelectric sensor were used to provide the information to the controller.
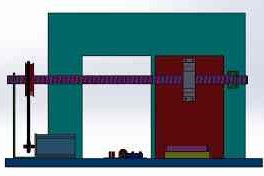
DOOR OPENING AND CLOSING SYSTEM
In this system when someone enters the infrared sensing field, opening motor starts working to open the door automatically till the door touches the door opening limit switch. Stop the closing action immediately if someone enters the sensing field during the door closing process, this programmed in PLC.
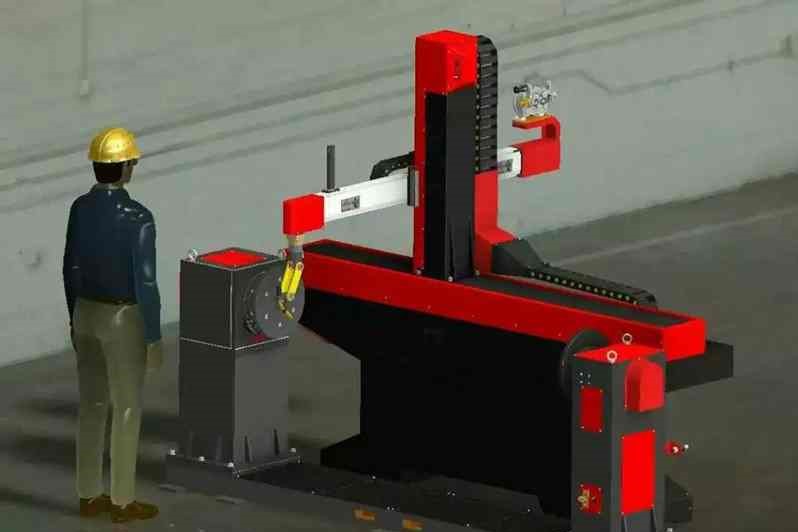
FOUR AXIS WELDING MACHINE
Four axis welding robot using PLC is same as like an axis robot, shape and purpose are different but the procedure of working are same. PLC is programmed as per the requirement.
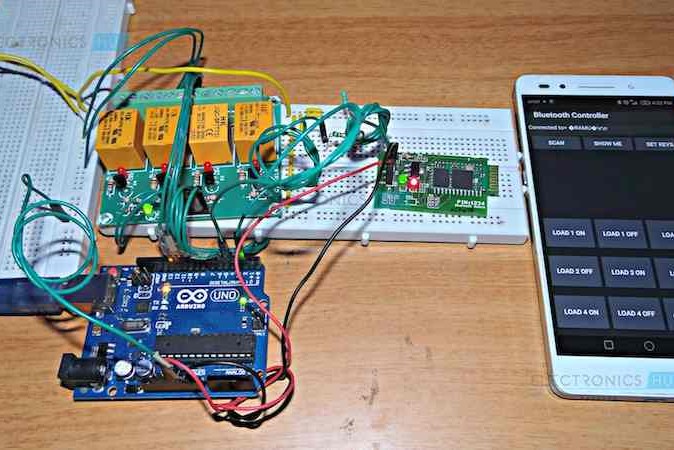
ENERGY SWITCHING SYSTEM
Electricity switching control systems are basically used for supplying energy efficiently to a given load in building automation applications. PLC is programmed for intelligent switching of both solar power supply and diesel generator power supply units.
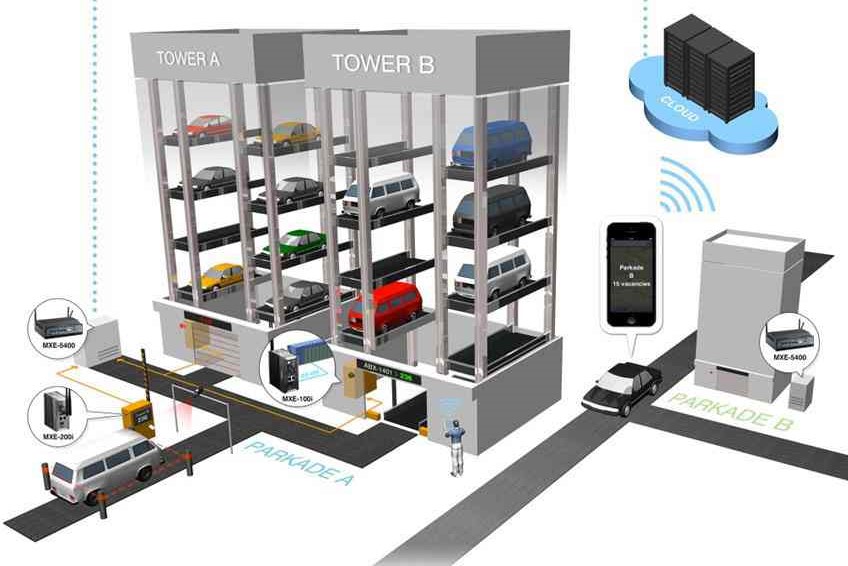
AUTOMATIC PARKING SYSTEM
The Automatic Car Parking System simply uses the input module from IR Sensors and LDRs to provide it to the Programmable Logic Controller (PLC) to ensure easy, reliable and effective car parking management.
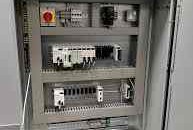
COFFEE VENDING MACHINE
Coffee Maker using PLC and HMI. In this project PLC functions a Coffee machine and display the physical process with the help of HMI.
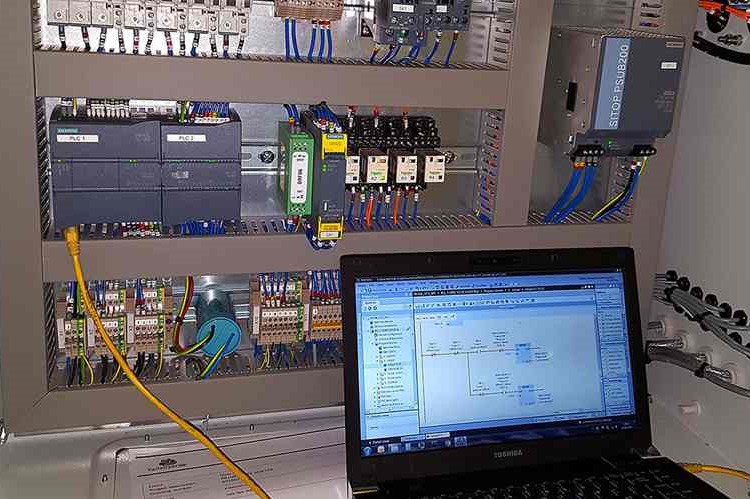
AUTOMATION USING PLC
A PROGRAMMABLE LOGIC CONTROLLER (PLC) is an industrial computer control system that continuously monitors the state of input devices and makes decisions based upon a custom program to control the state of output devices, Mainly used in industrial.
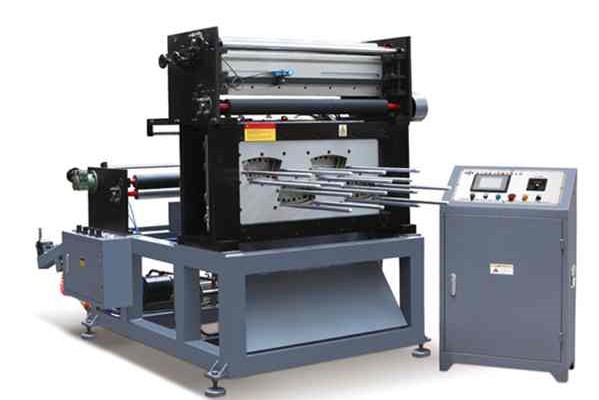
AUTOMATIC PUNCING MACHINE
The design and fabrication of automatic sheet metal punching machine controlled by Programmable Logic Controller (PLC). By automating the punching system one can have greater control over the whole process.
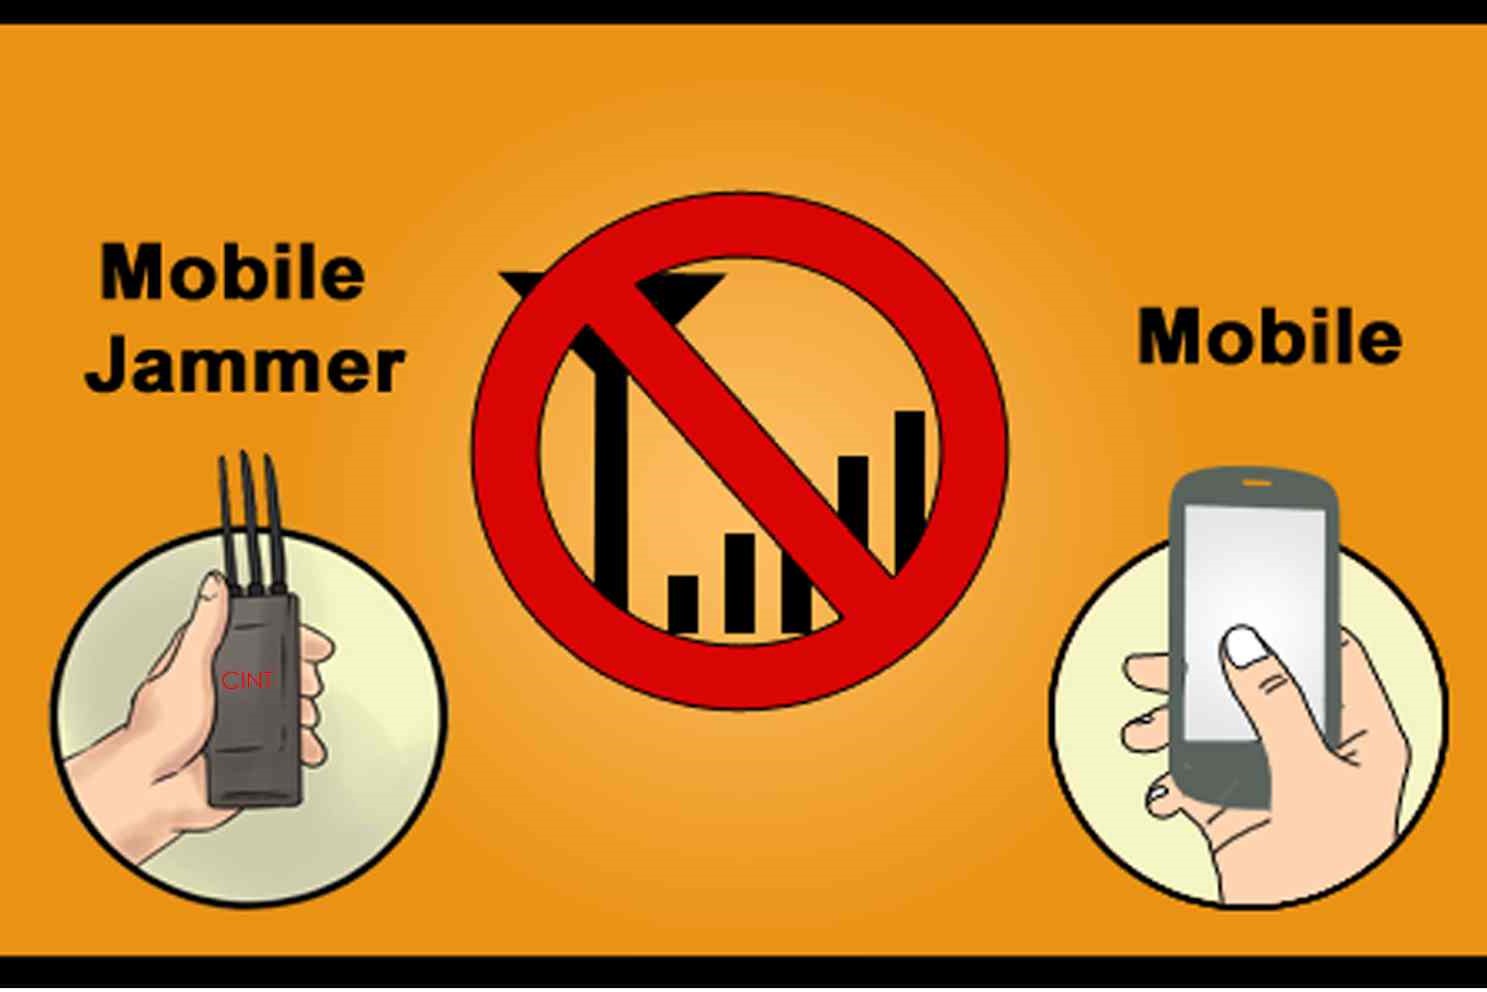
JAMMER
A mobile phone jammer is a device which transmits signal on the same device, it is used for disrupting the communication between the mobile and base station, effectively disables signal within the range of jammer.

AUTOMATIC WATER FILLING SYSTEM
In automatic water filling method includes placing bottles onto a conveyor belt and filling bottles one at a time, in the bottle filling system the PLC gets the sensor feedback and controls the solenoid valve timing as well as controls the conveyer belt. By programming the PLC, the entire system is being controlled.
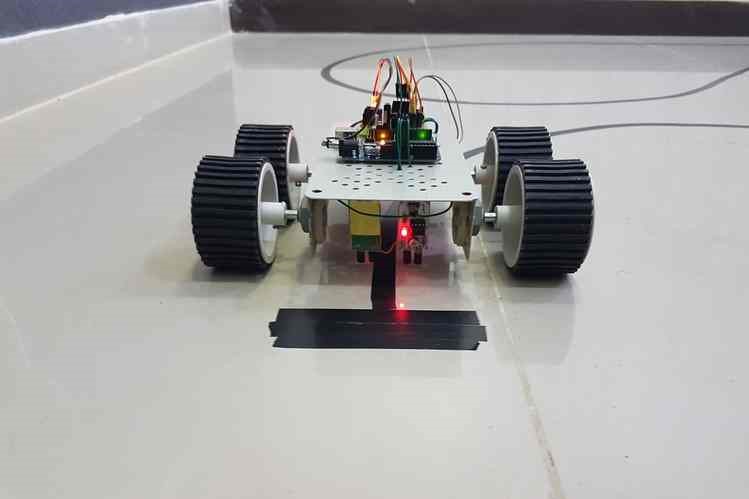
Line follower robot
The Line follower robot is a mobile machine that can detect and follow the line drawn on the floor. Generally, the path is predefined and can be either visible like a black line on a white surface with a high contrasted color or it can be invisible like a magnetic field.
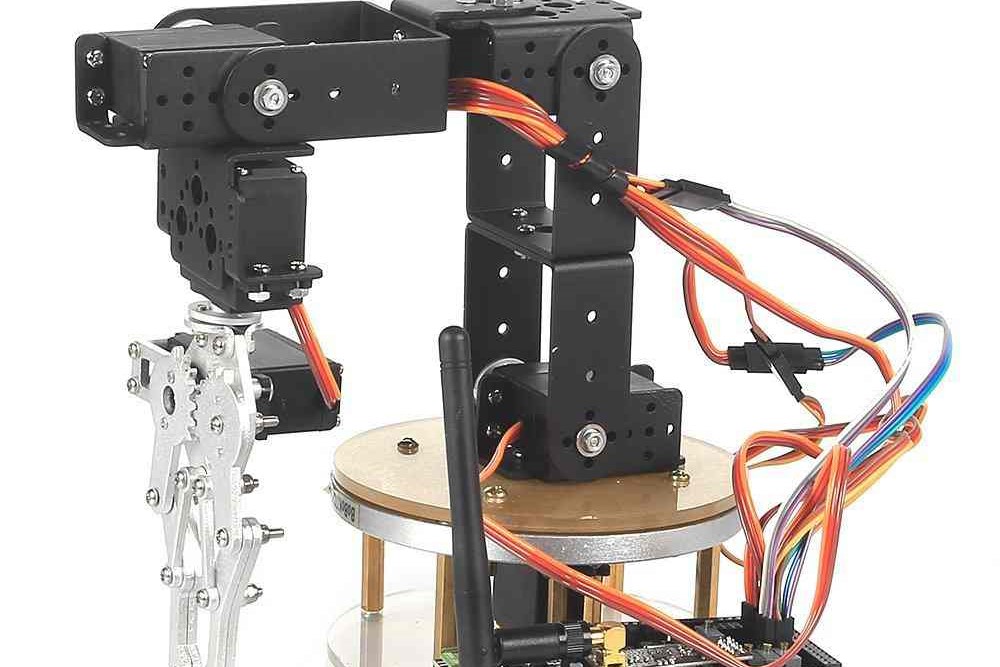
SIX AXIS ROBOT
Most industrial robots utilize six axes, which give them the ability to perform a wide variety of industrial tasks compared to robots with fewer axes. Six axes allow a robot to move in the x, y, and z planes, as well as position itself using roll, pitch, and yaw movements.
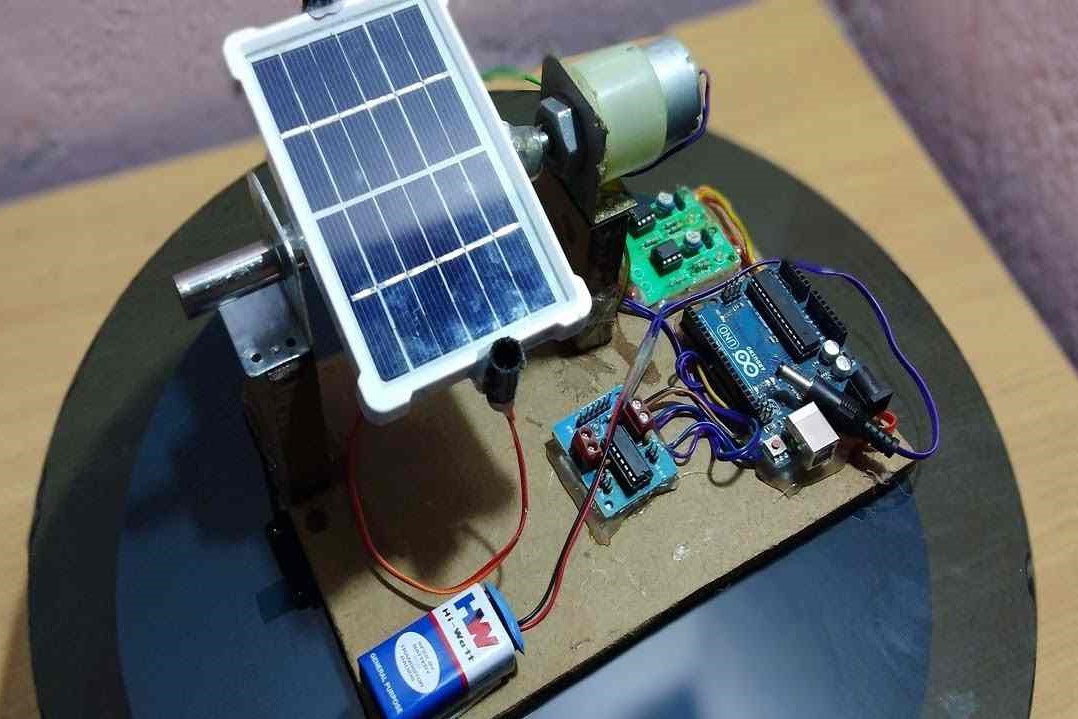
SOLAR TRACKER
A solar tracking system maximizes your solar system's electricity production by moving your panels to follow the sun throughout the day, which optimizes the angle at which your panels receive solar radiation, these setups allow your panels to arc from east to west and track the sun as it rises and sets.
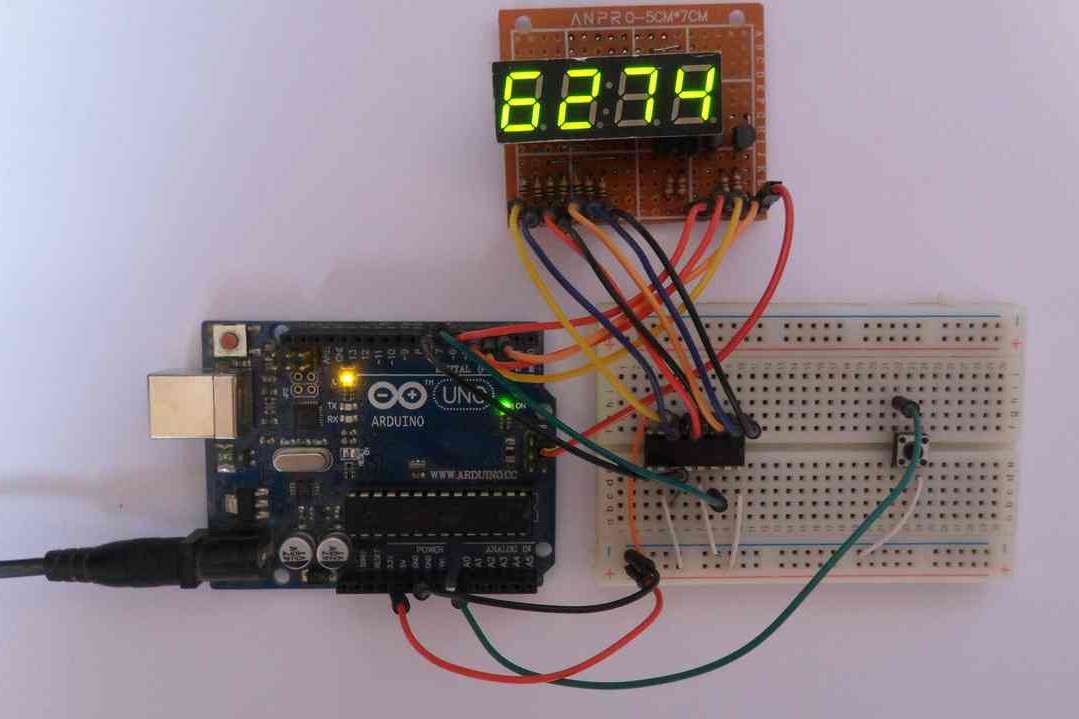
4-DIGIT 7-SEGMENT DISPLAY
A 7 segment LED display consists of 7 LEDs arranged in such a way that it can display numbers from 0 to 9. The arrangement of LEDs in the display can be either common anode or common cathode. 4 – digit 7 – segment LED display is used to display numbers using Arduino.
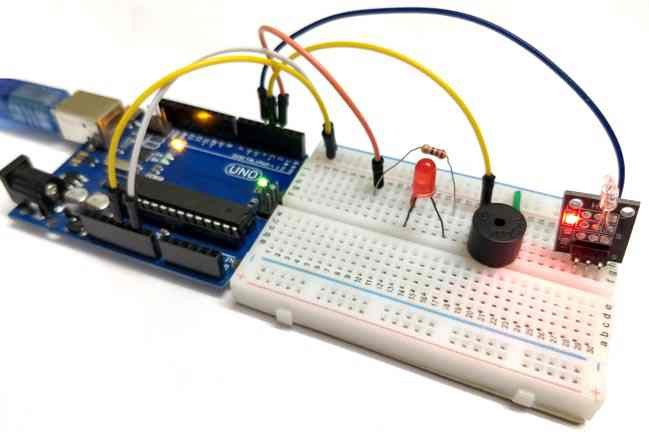
TILT SENSOR MAKING
A Tilt Sensor switch is an electronic device that detects the orientation of an object and gives its output High or Low accordingly. Basically, it has a mercury ball inside it which moves and makes the circuit.
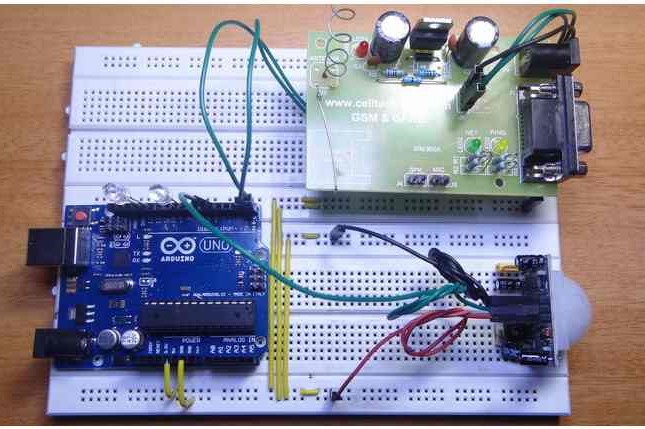
SECURITY ALARM SYSTEM
A security alarm system consists of a series of electrical components that are connected to a property. Via sensors and contacts, they detect movement or the opening of doors and windows, after which a loud alarm is produced to alert those nearby of the unauthorized entry.
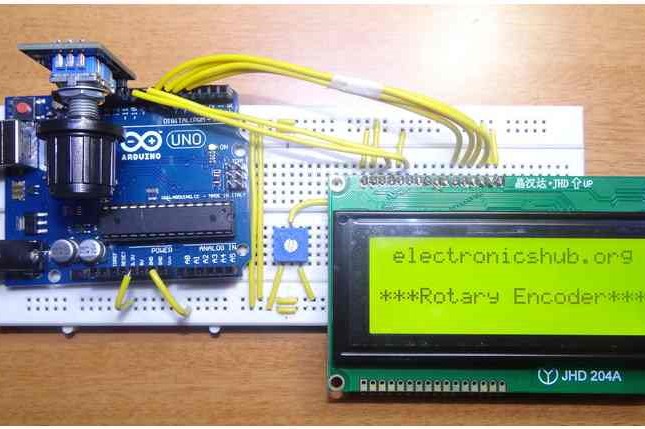
ROTARY ENCODER
A rotary encoder is an electro-mechanical device which converts rotational motion into digital or analog information. It looks very much like a potentiometer but it can turn in either clockwise or counter-clockwise direction infinitely.
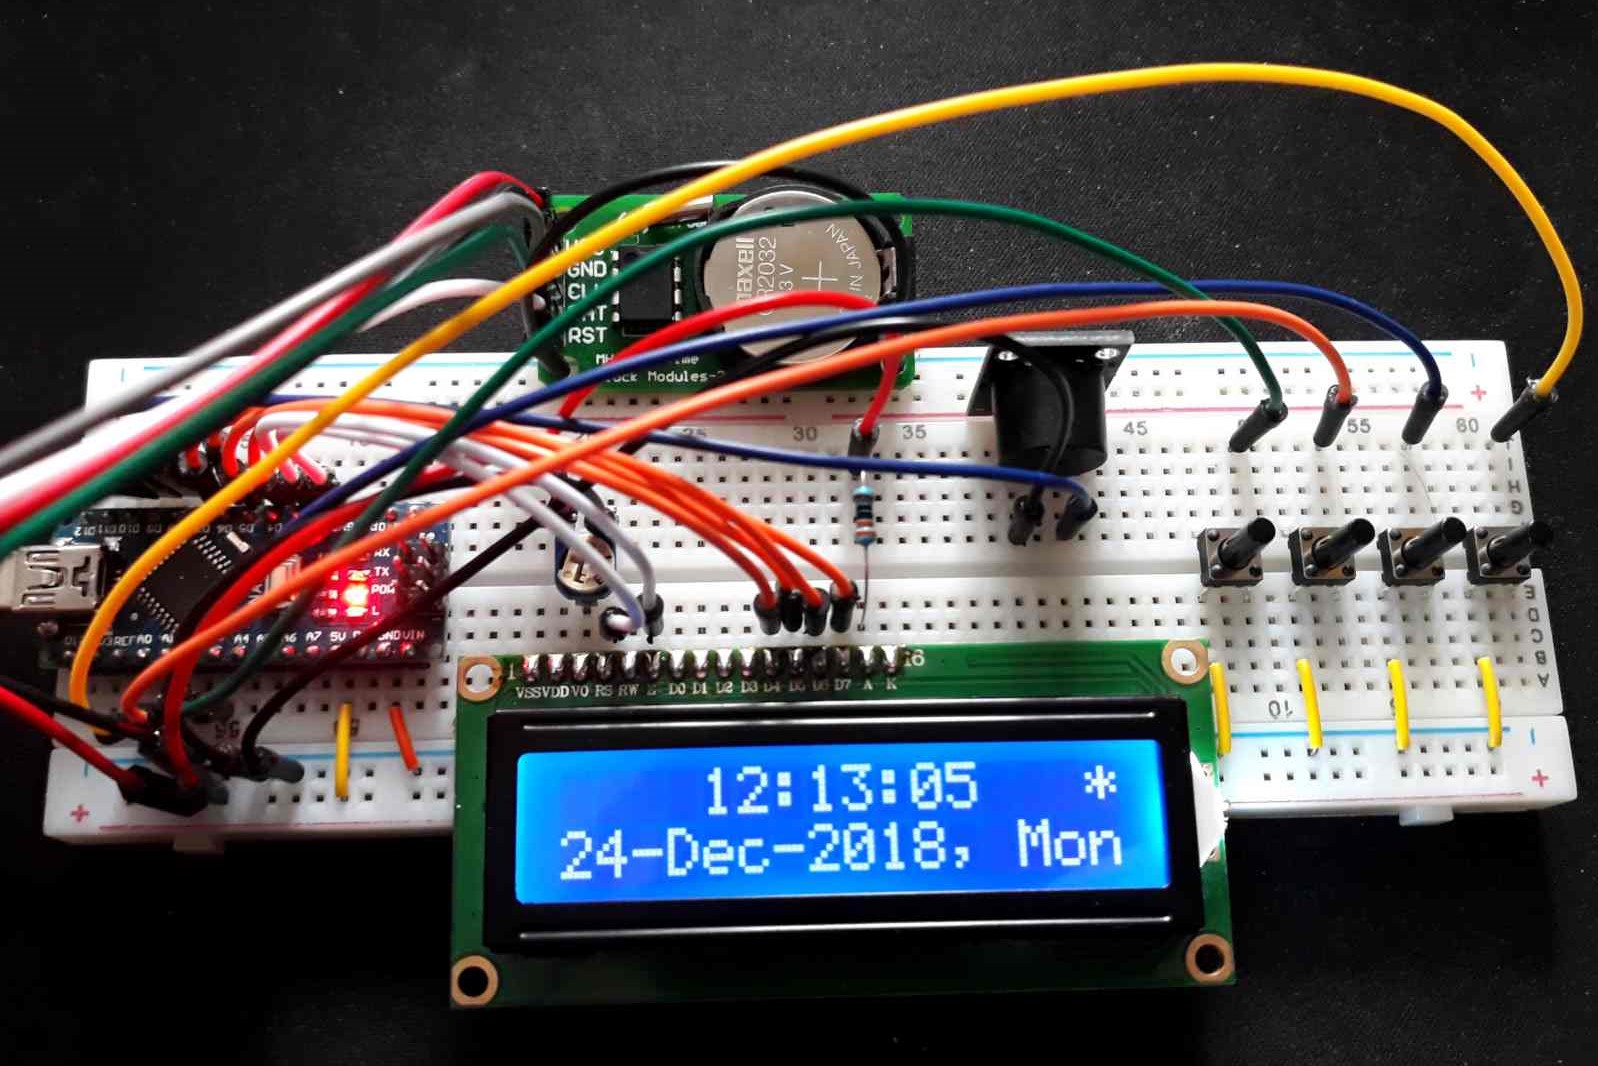
ALARM CLOCK
An Arduino based Real Time Clock with alarm. A Real Time Clock or RTC is a battery powered clock that measures time even when there is no external power or the microcontroller is reprogrammed. An RTC displays clock and calendar with all timekeeping functions.
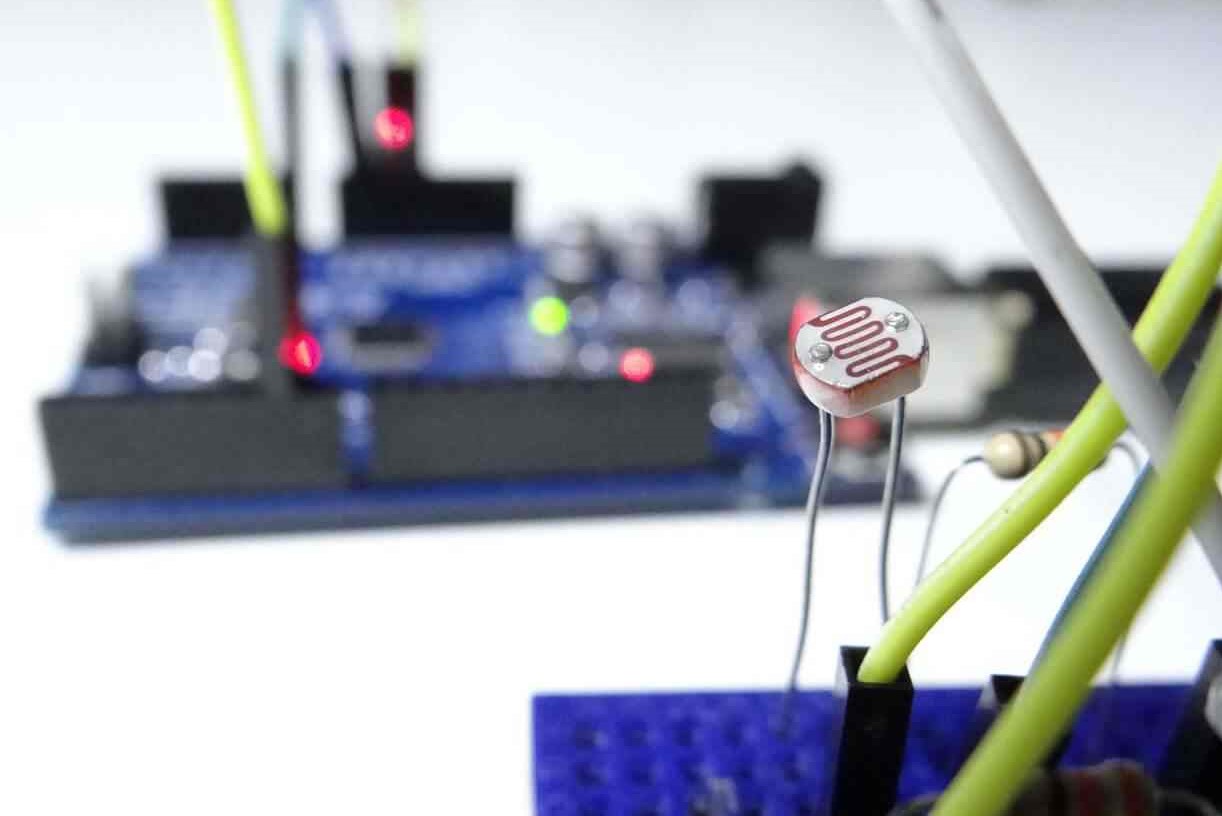
LIGHT SENSOR
Light sensors measure illumination, which can be used to measure more than the brightness of a light source. Because the illumination decreases as the sensor moves away from a steady light, the light sensor can be used to gauge relative distance from the source.
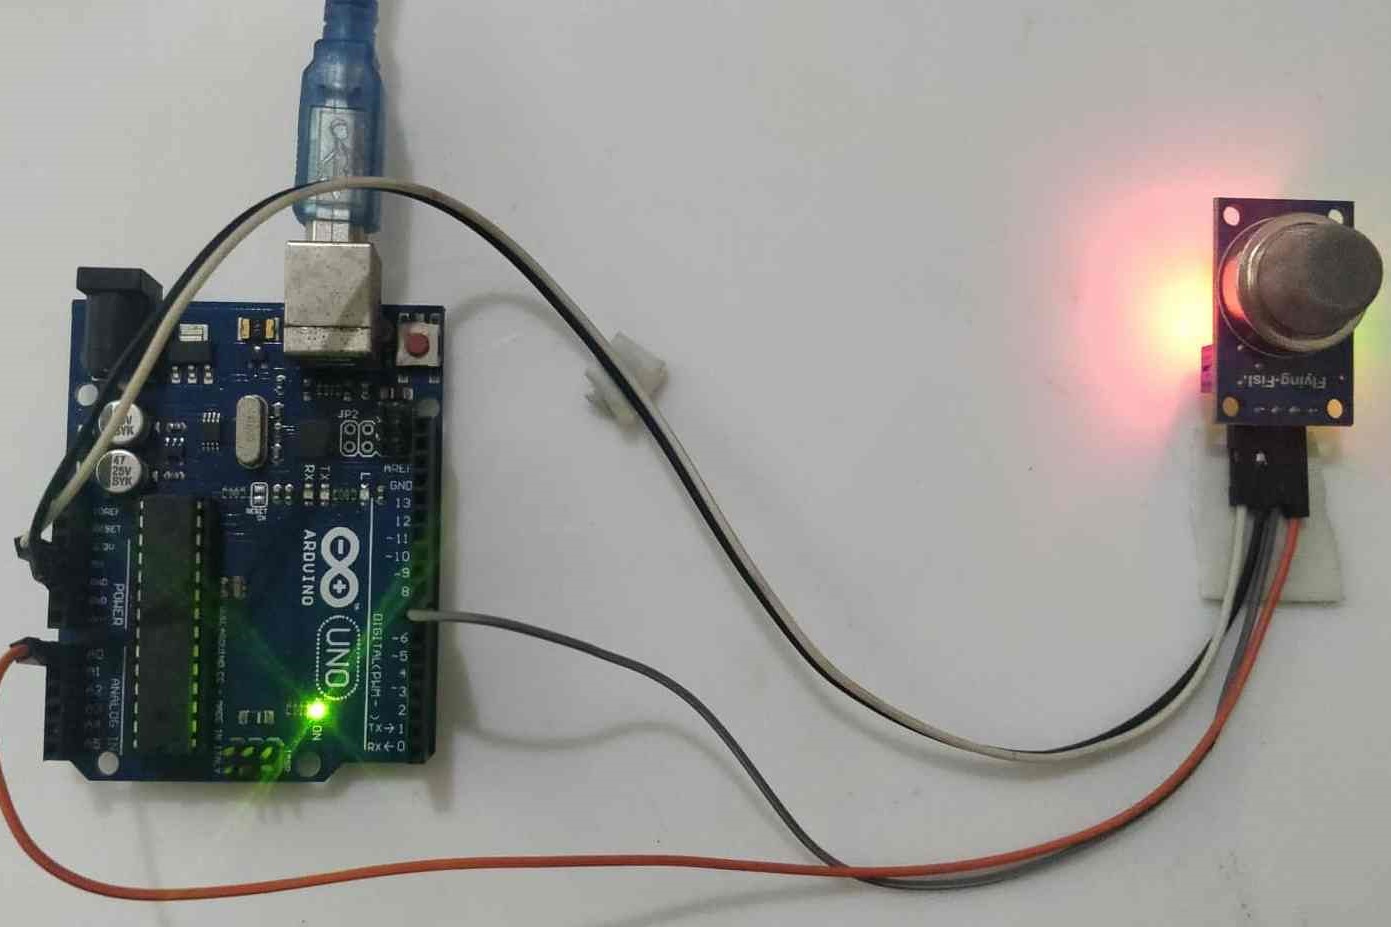
SMOKE SENSOR
A Smoke Detector is a smoke sensing device that indicates fire. Smoke Detectors are very common in homes, offices, schools and industries. this project, we are implementing a simple Smoke Detector Circuit using simple hardware. We used a Gas/Smoke sensor for detecting smoke
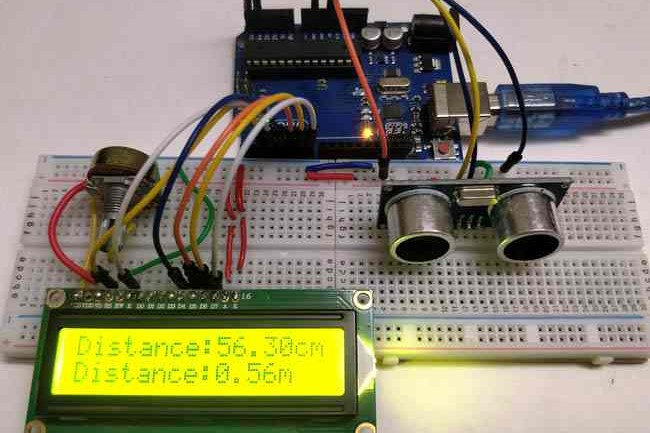
DISTANCE MEASUREMENT
We have used an Ultrasonic Sensor to determine the distance of an obstacle from the sensor. Basic principal of ultrasonic distance measurement is based on ECHO. When sound waves are transmitted in environment then waves are return back to origin as ECHO after striking on the obstacle.
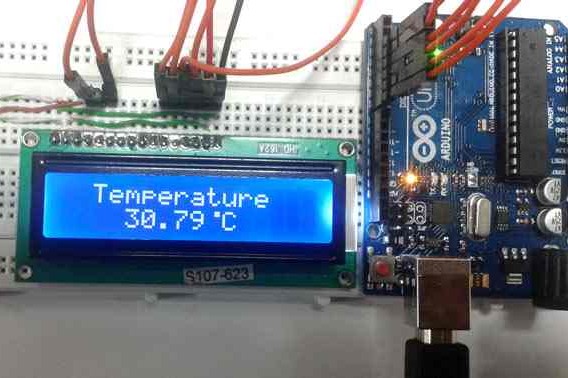
DETECTING TEMPERATURE USING TEMPERATURE SENSOR
A Temperature Controlled System is a type of control system that automatically controls the temperature of an object or an area, the aim of this project is to automatically turn on or off the fan by detecting the surrounding temperature
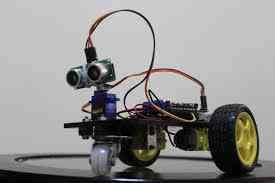
OBSTACLE CLEARANCE ROBOT
An Obstacle Avoiding Robot is a type of autonomous mobile robot that avoids collision with unexpected obstacles. In this project, an Obstacle Avoiding Robot is designed. It is an Arduino based robot that uses Ultrasonic range finder sensors to avoid collisions
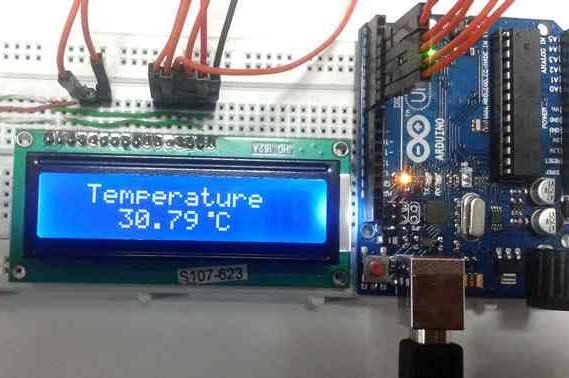
DIGITAL THERMOMETER
Arduino based digital thermometer is to display the current ambient temperature and temperature changes on a LCD unit in real time, For an example if the output voltage of LM35 sensor is 250m volt, that means the temperature is around 25 degree Celsius.
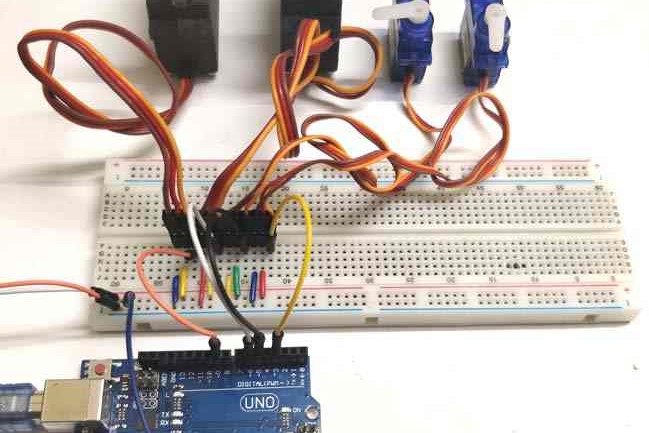
ROTATING A SERVO MOTOR
A Servo Motor is a small device that has an output shaft. This shaft can be positioned to specific angular positions by sending the servo a coded signal. As long as the coded signal exists on the input line, the servo will maintain the angular position of the shaft.
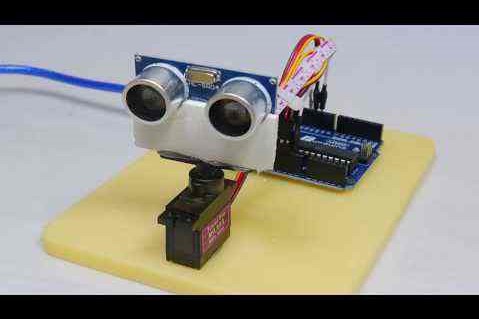
ULTRA-SONIC MAP MAKER
We are using an ultrasonic Distance sensor. It generates sound waves beyond the scope of human hearing and measures distance by calculating the time required by these waves to hit an obstacle and travel back
AUTOMATIC PET WATERING SYSTEM
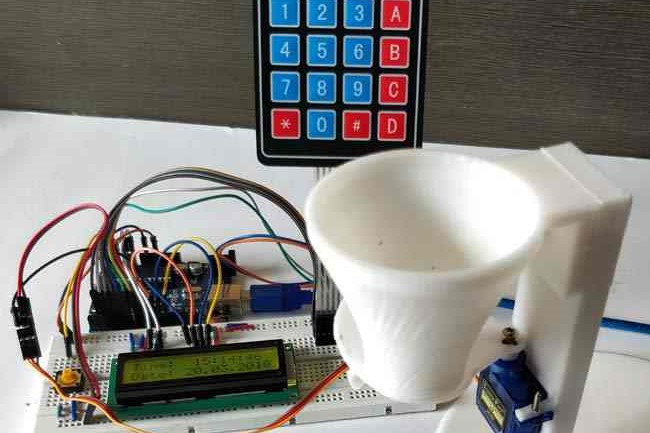
The automatic watering system simple just read the water level in the water bowl with an Ultrasonic sound sensor. It measure the distance to the surface of the water. If the level is less than 3cm for more than 30sec it triggers a 5V relay.
FOOD DETECTOR
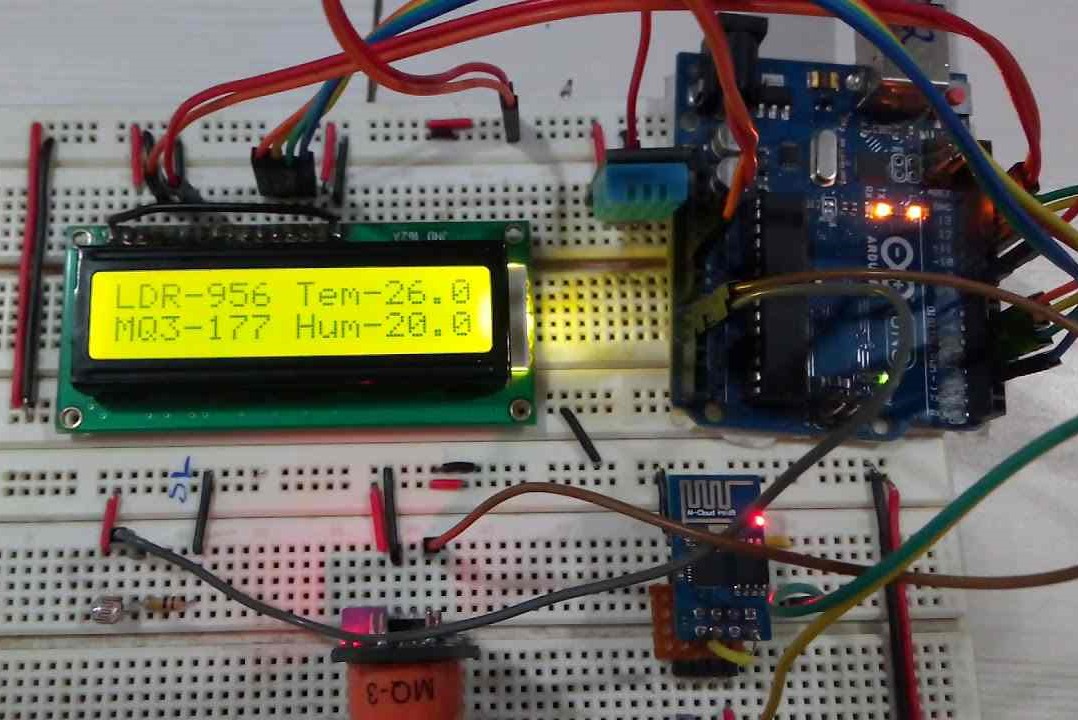
Arduino Based Smart IOT Food Quality Monitoring System. The Arduino board is interfaced with various sensors to monitor temperature and humidity, MQ3 to detect alcohol content and LDR to measure exposure to light.
RELAY CONTROL
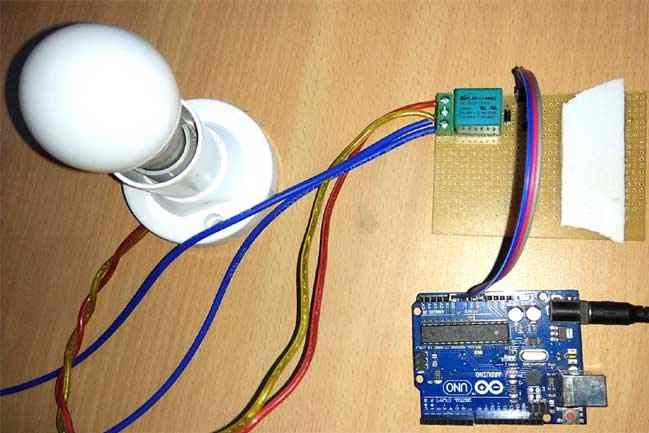
A relay is an electrically operated switch that can be turned on or off, letting the current go through or not, and can be controlled with low voltages, like the 5V provided by the Arduino pins. Controlling a relay module with the Arduino is as simple as controlling any other output as we'll see later on.
ON AND OFF LIGHT USING CLAP SENSOR
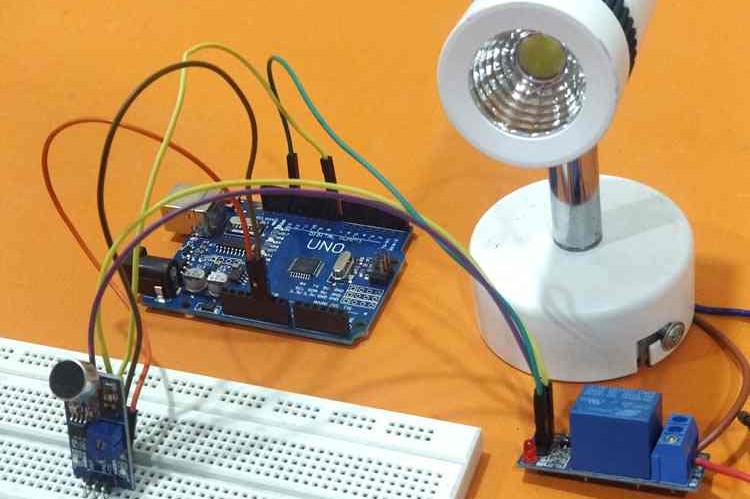
clap switch is that the electric microphone picks up the sound of your claps, coughs, and the sound of that book knocked off the table. It produces a small electrical signal which is amplified by the succeeding transistor stage. Basically, this is a Sound operated switch and trigger the light.
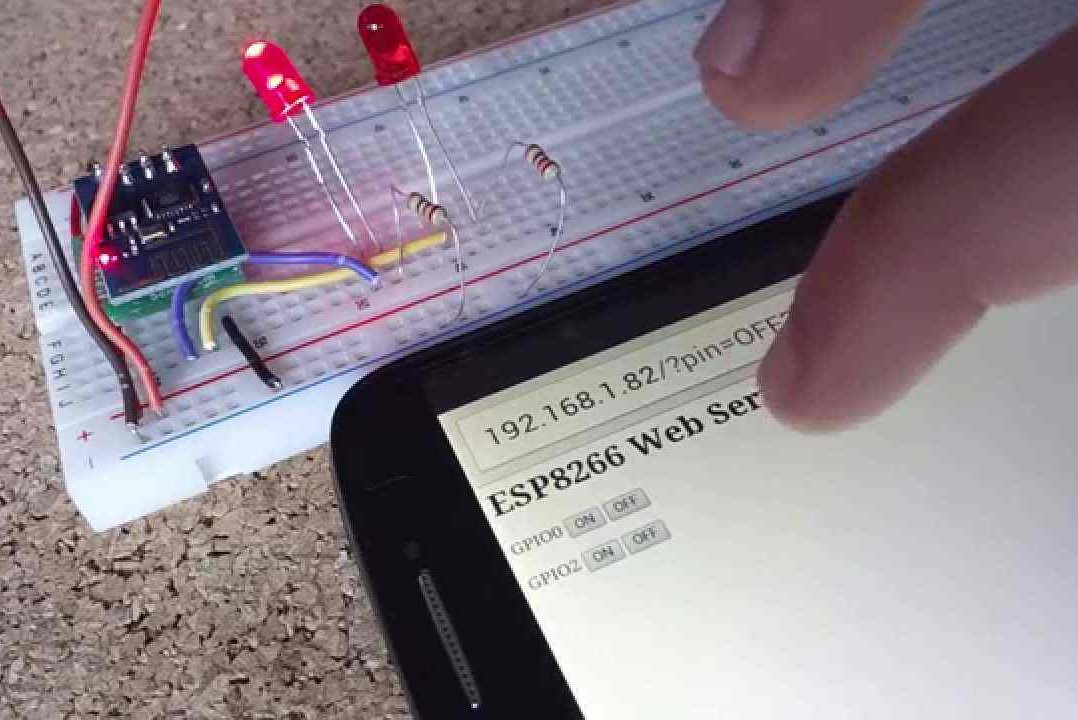
WIRELESS WEB SERVER
WiFi Web Server. In this example, you will use your WiFi Shield and your Arduino or Genuino board to create a simple Web server. After opening a browser and navigating to your WiFi shield's IP address, your board will respond with just enough HTML for a browser to display the input values from all six analog pins
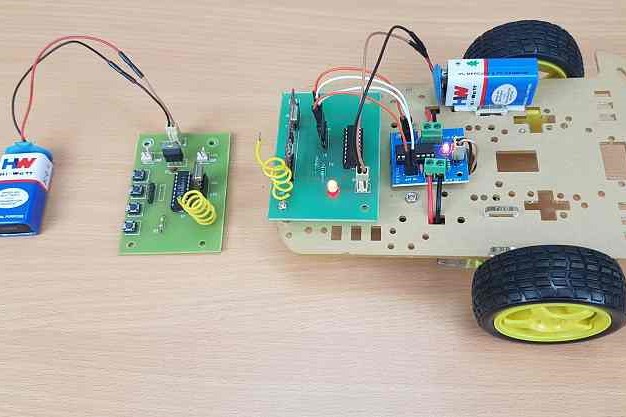
RF CONTROLLED ROBOT
An RF or Radio Frequency Controlled Robot without using a Microcontroller is a Robotic vehicle that uses the Radio Frequency wireless communication between the remote control (the RF Transmitter) and the actual robot (associated with the RF Receiver) and no microcontroller.
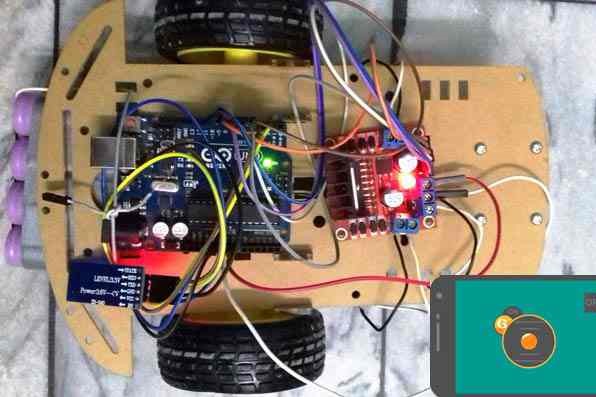
BLUETOOTH CONTROL ROBOT
Android based robot has a Bluetooth receiver unit that receives the commands and gives it to the microcontroller circuit to control the motors. The microcontroller then transmits the signal to the motor driver IC's to operate the motors.
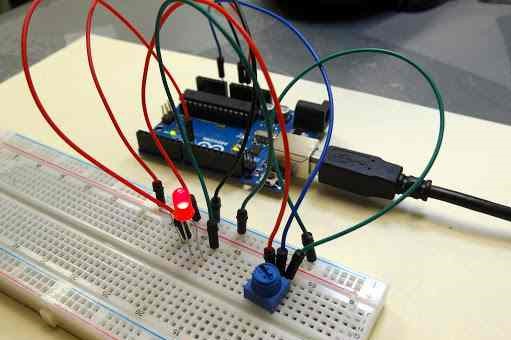
VARYING LIGHT USING POT
A potentiometer is a simple knob that provides a variable resistance, which we can read into the Arduino board as an analog value. In this example, that value controls the rate at which an LED blinks.

RGB LED
A RGB LED is a combination of three LEDs, there are two kinds of RGB LEDs: common cathode and common anode RGB LEDs; you generate different colors by adjusting the brightness of each of the three LEDs of the RGB LED; to adjust the brightness of each LED, you use a PWM signal.
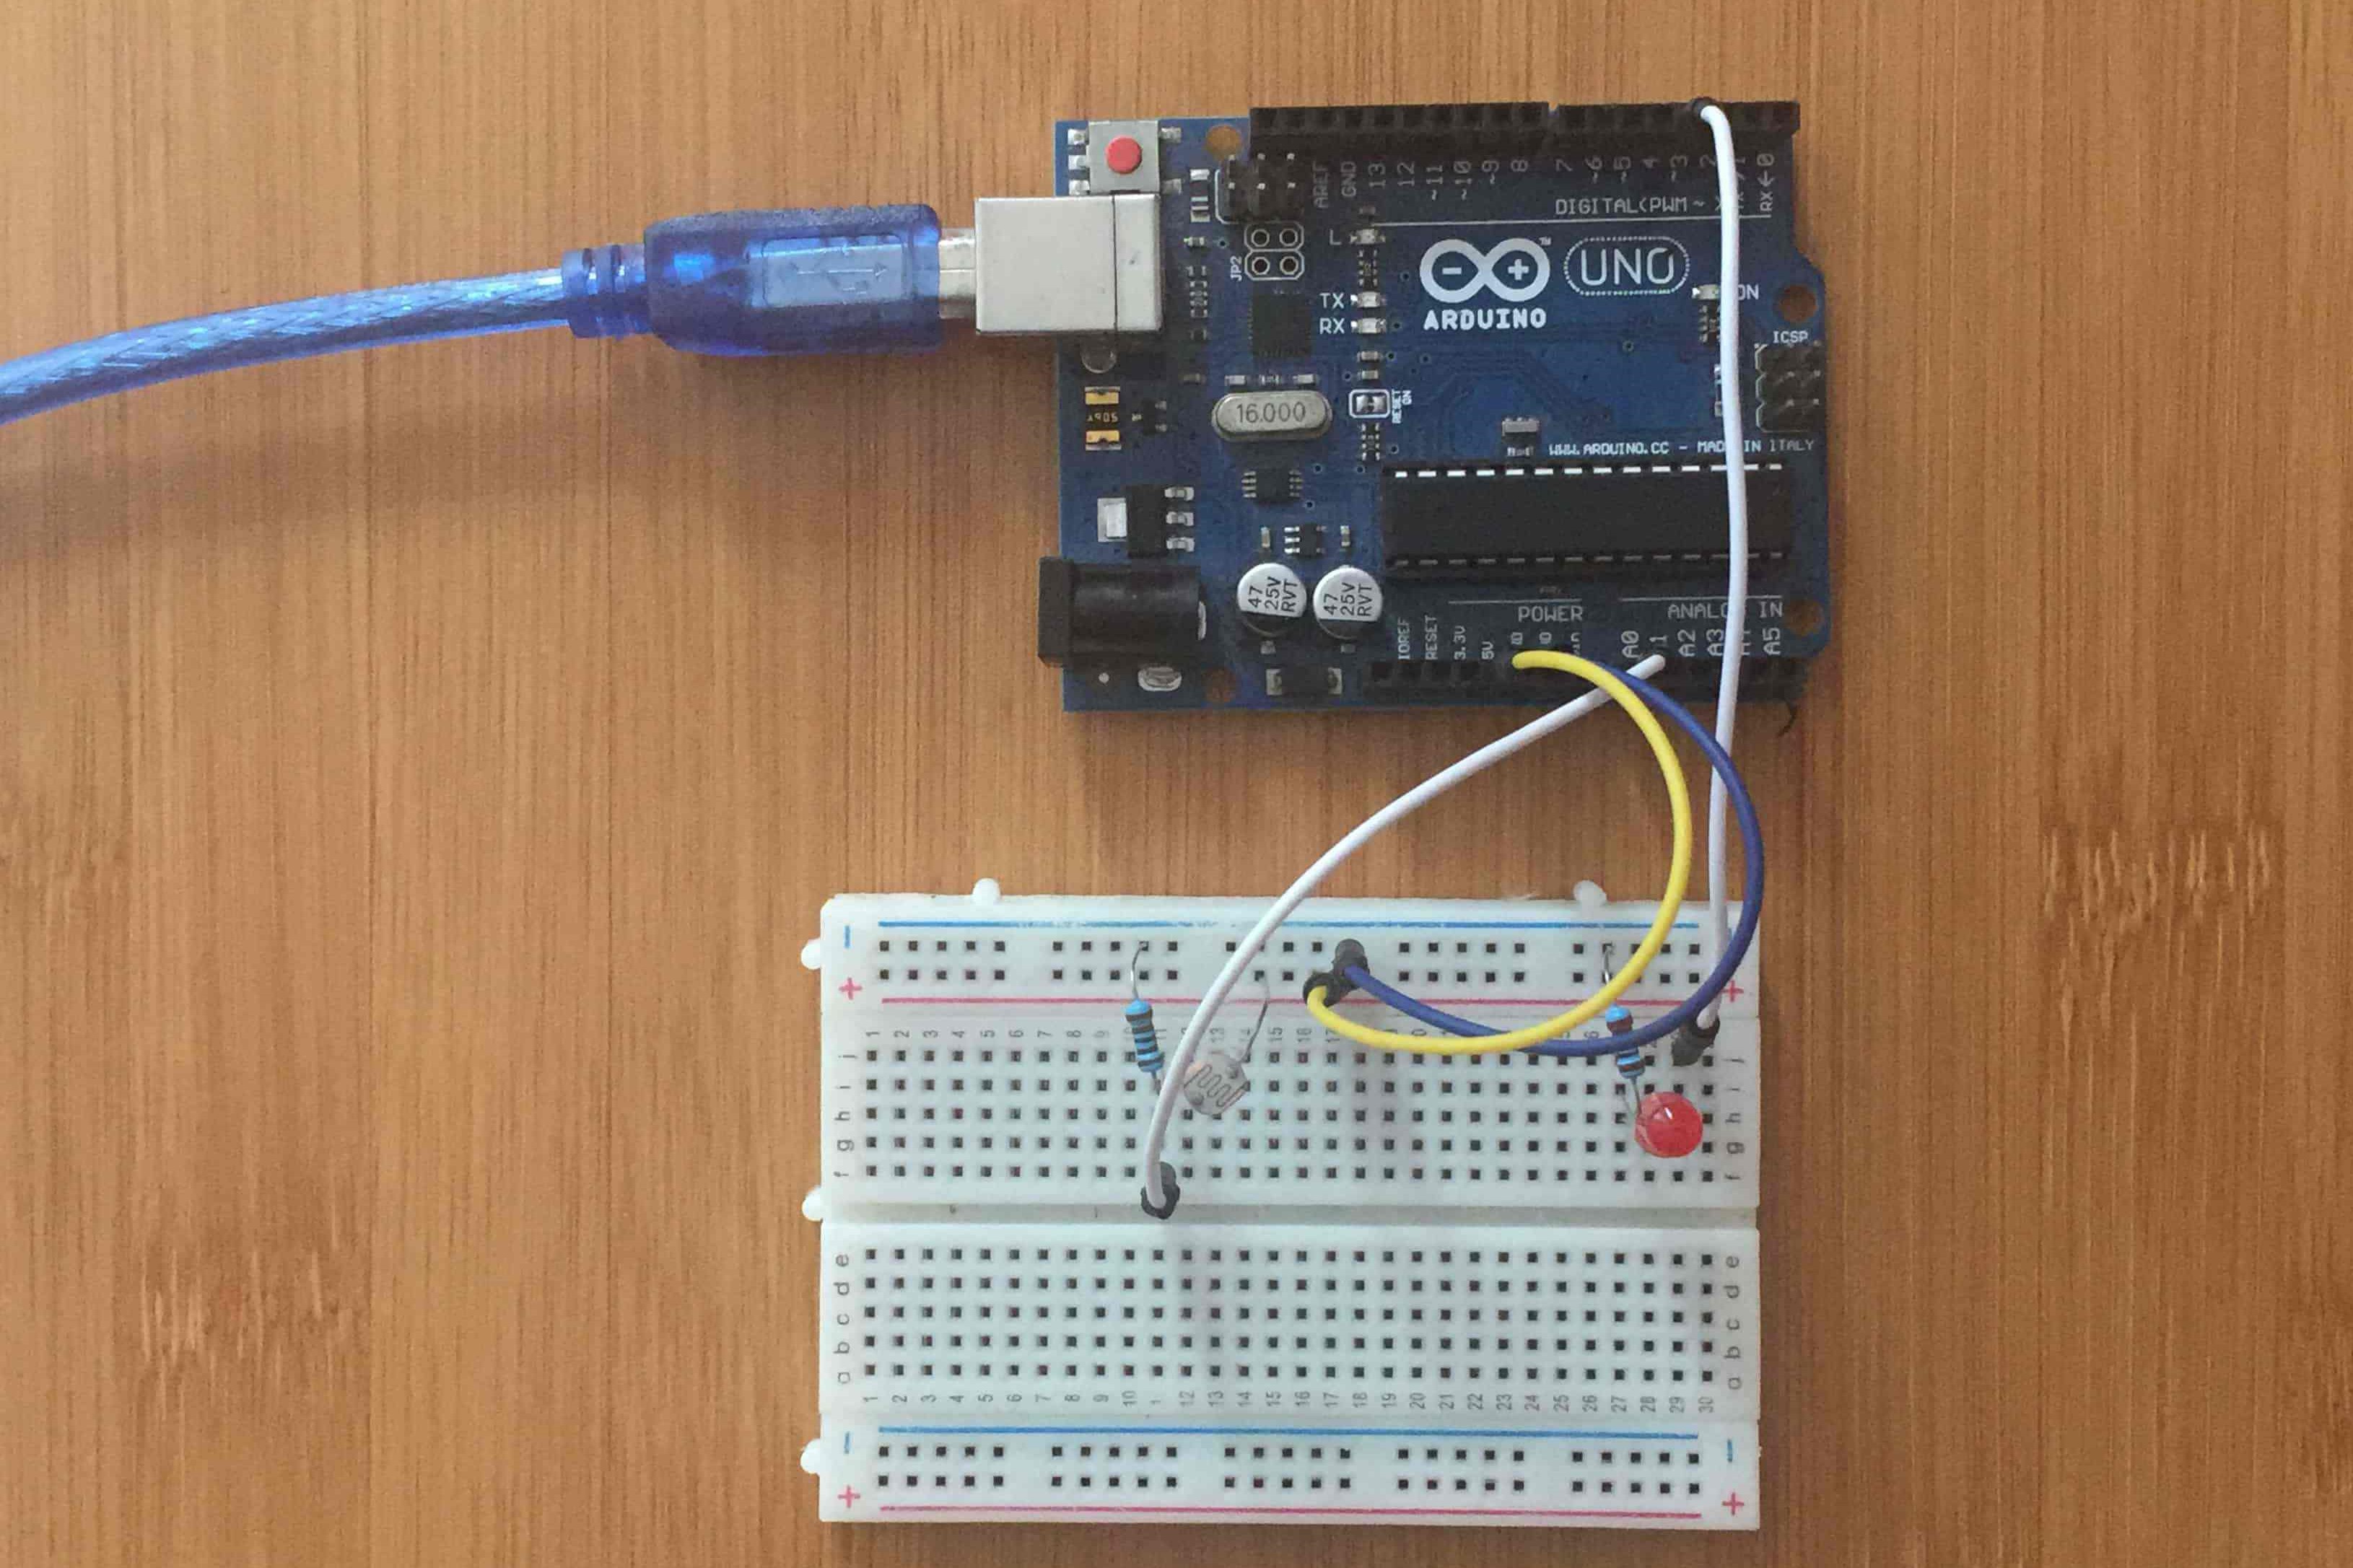
ADJUSTING LED BRIGHTNESS USING LDR
The resistance of LDR decreases with the increasing intensity of light and vice versa. The LDR gives analog output values and connected to the analog pin on the arduino . The output from LDR is used to control the intensity of led bulb.
WIRELESS COMMUNICATION
The wireless transmitter and receiver modules work at 315 Mhz. They can easily fit into a breadboard and work well with microcontrollers to create a very simple wireless data link.
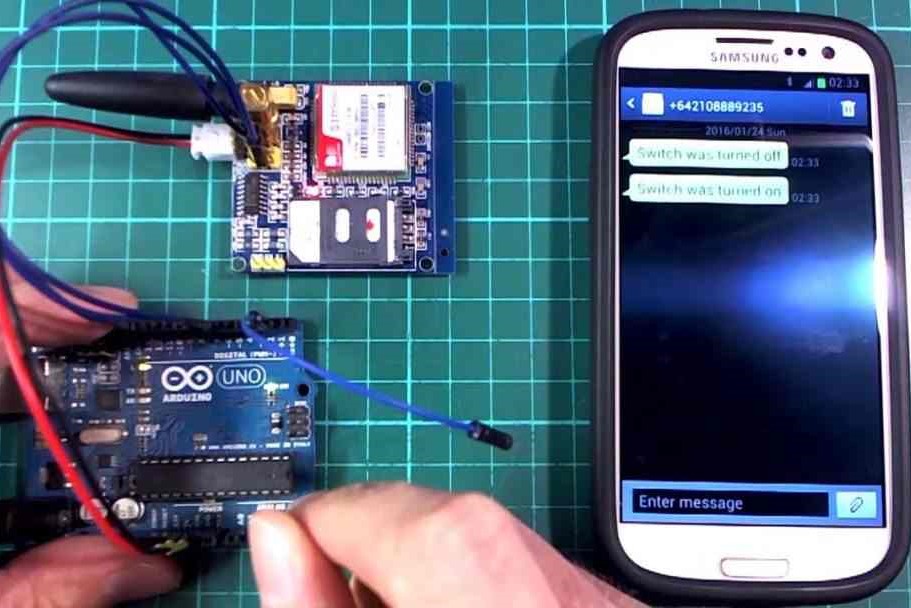
INTERFACING AN GSM
With the Arduino GSM Shield, this library enables an Arduino board to do most of the operations you can do with a GSM phone, place and receive voice calls, send and receive SMS, and connect to the internet over a GPRS network. The GSM shield has a modem that transfers data from a serial port to the GSM network.
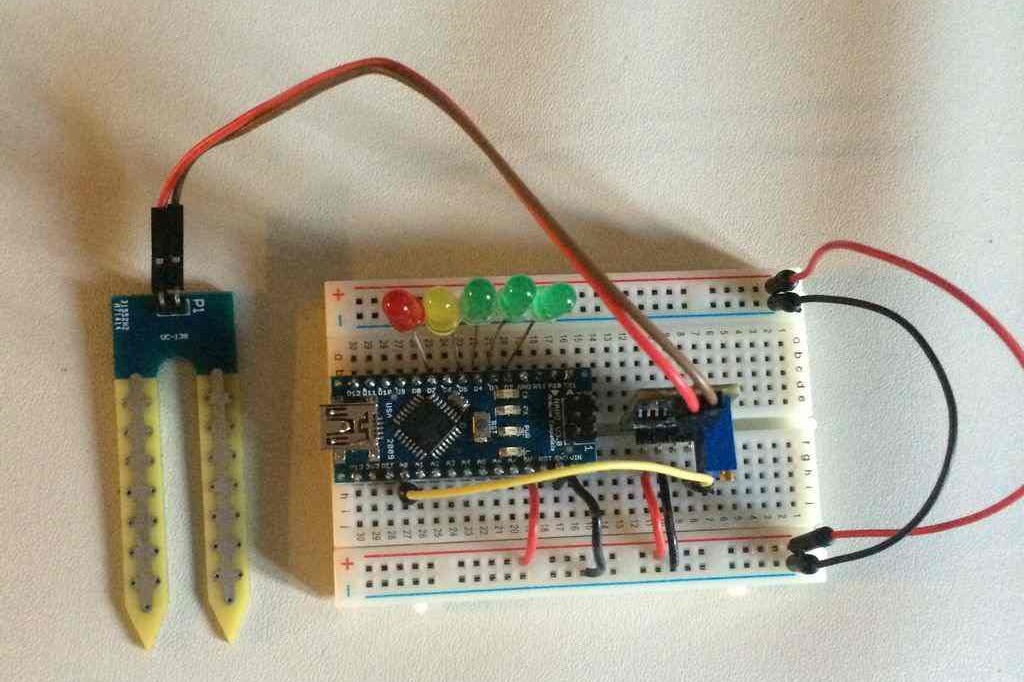
SOIL STRENGTH USING SOIL SENSOR
Soil moisture is basically the content of water present in the soil. This can be measured using a soil moisture sensor which consists of two conducting probes that act as a probe. It can measure the moisture content in the soil based on the change in resistance between the two conducting plates.
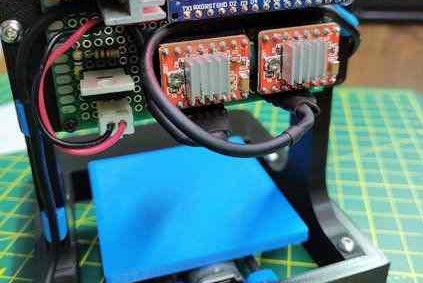
LASER PRINTER
An Arduino provides the brains for the machine. It outputs step and direction signals for the stepper drivers, and a laser enable signal for the laser driver. In the current design, only 5 output pins are required to control the machine.
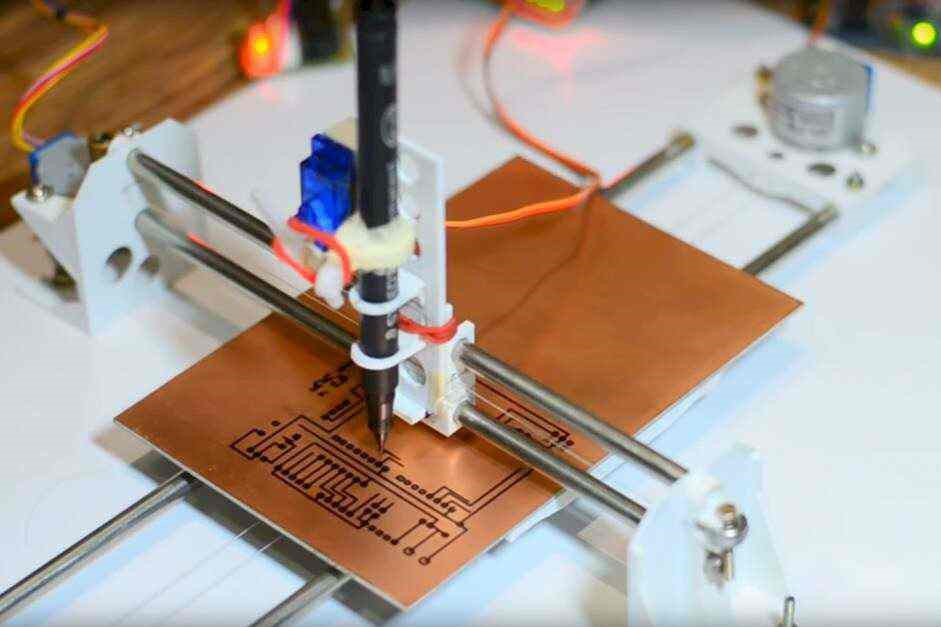
CNC PLOTTER
Arduino based Simple CNC Plotter Machine. CNC Machines are Computerized Numerical Control Machines which are used to draw anything or design any mechanical part according to the design program fed into their controller unit. Controller unit can be either computer or microcontroller
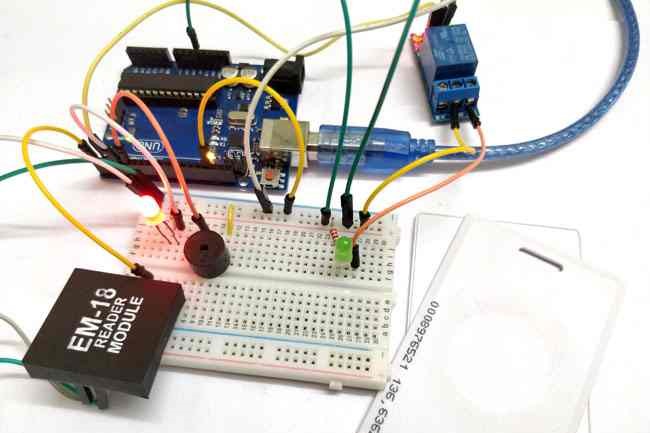
RFID DOOR LOCK
Arduino RFID Door Lock Hardware Project Setup. You have seen RFID Door Lock Mechanism in some Hotels and other places, where you don't need a key to unlock the room. You are given a card and you just need to put it in front of a RFID Reader box, and the lock gets unlocked with a Beep and a Blink of LED.
GPS TRACKING SYSTEM
It is an embedded system which is used for tracking and positioning of any vehicle by using Global Positioning System (GPS) and Global system for mobile communication (GSM). The GPS modem will continuously give the data i.e. the latitude and longitude indicating the position of the vehicle.
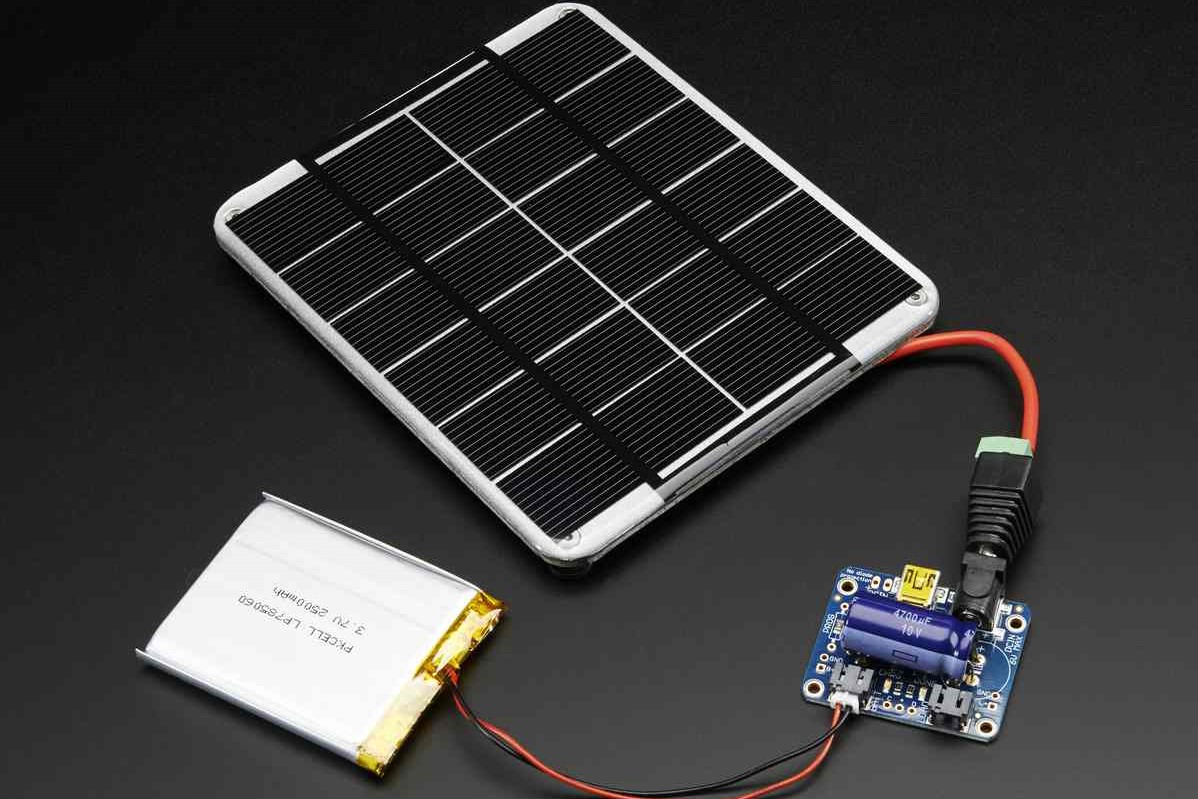
SOLAR USB CHARGER
The solar powered battery charger circuit. This uses the energy from some solar cells to charge the batteries, and boosts the voltage from it to the 5V used by the Arduino Uno. A 5V step-up voltage booster is also connected to the battery and is used to convert from 3.7V dc to 5V dc.
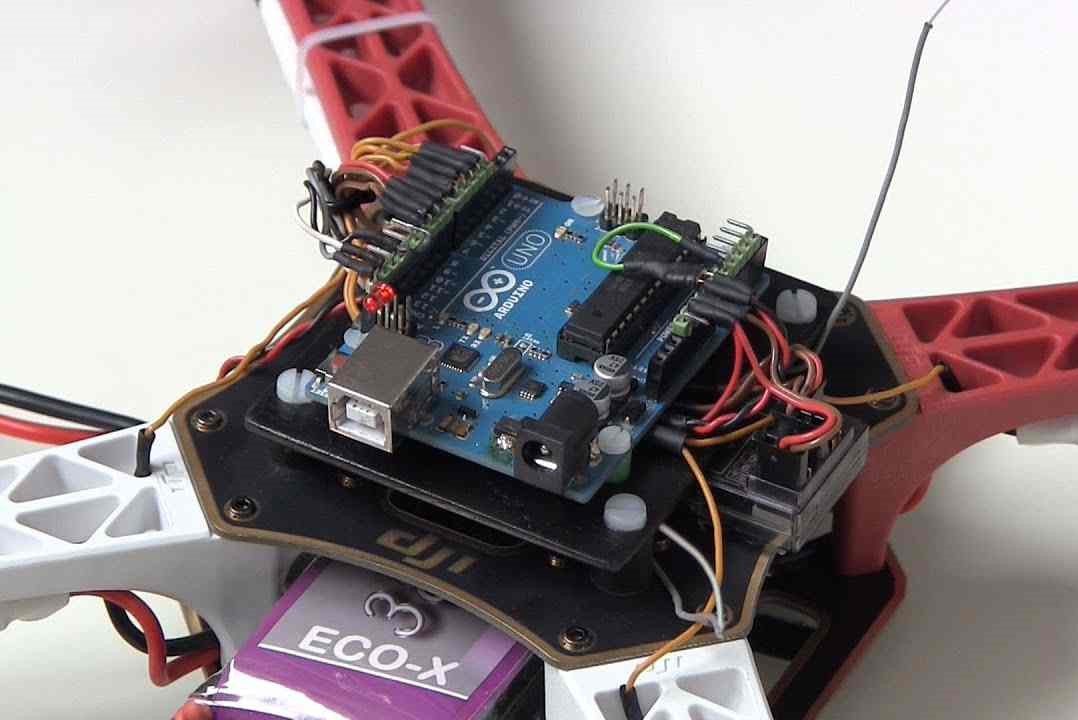
DRONE
Drones are more formally known as unmanned aerial vehicles or unmanned aircraft systems. Essentially, a drone is a flying robot that can be remotely controlled or fly autonomously through software-controlled flight plans in their embedded systems, working in conjunction with onboard sensors and GPS.
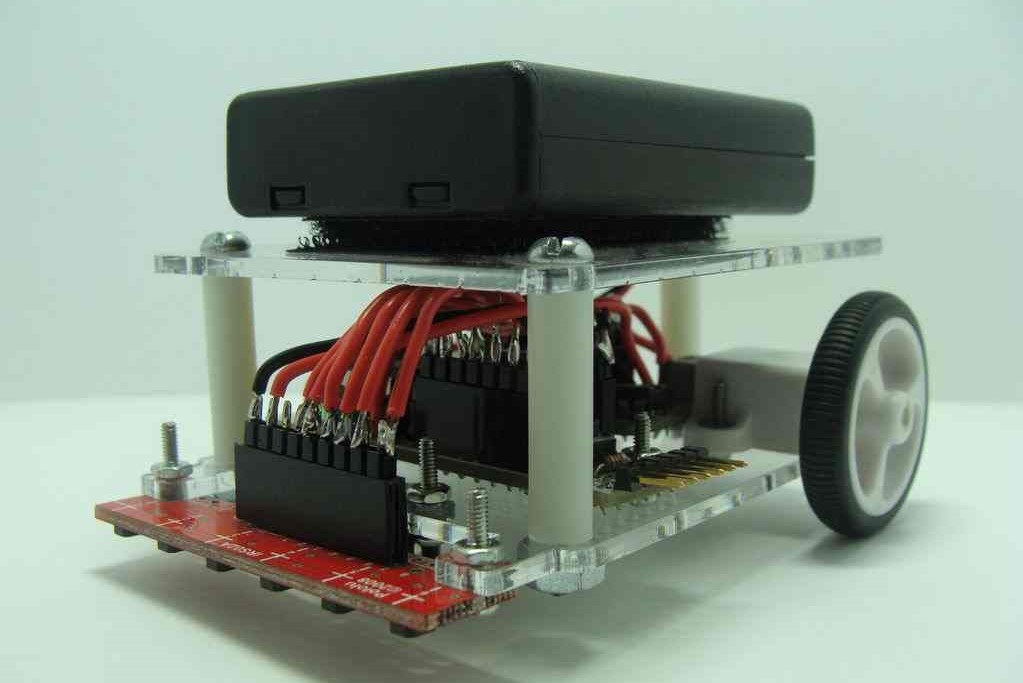
MAZE SOLVER
A maze solving robot is designed to move in a maze and escape through it by following its walls. A maze solving robot is quite similar to a line follower.
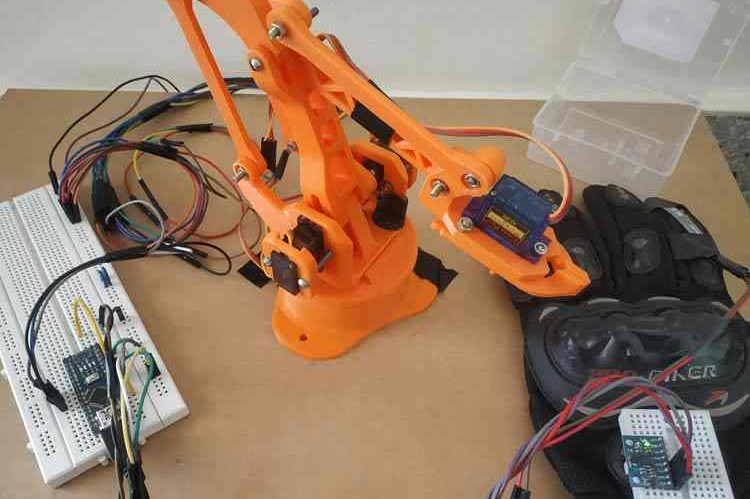
ROBOTIC ARM
The mini-robot arm uses four servomotors to move the arm. Servomotors are controlled by Arduino.